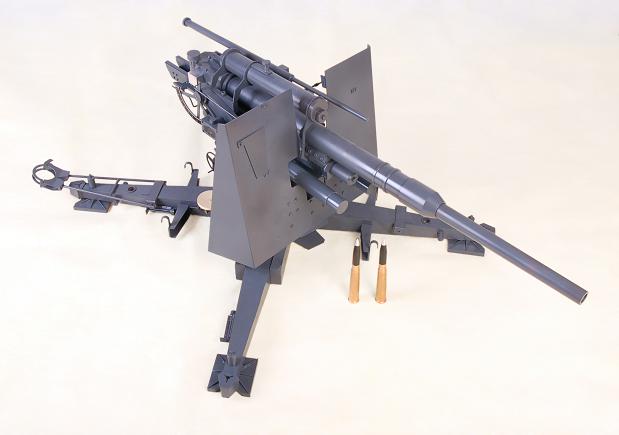
German 88 Final Pics
Hi All,
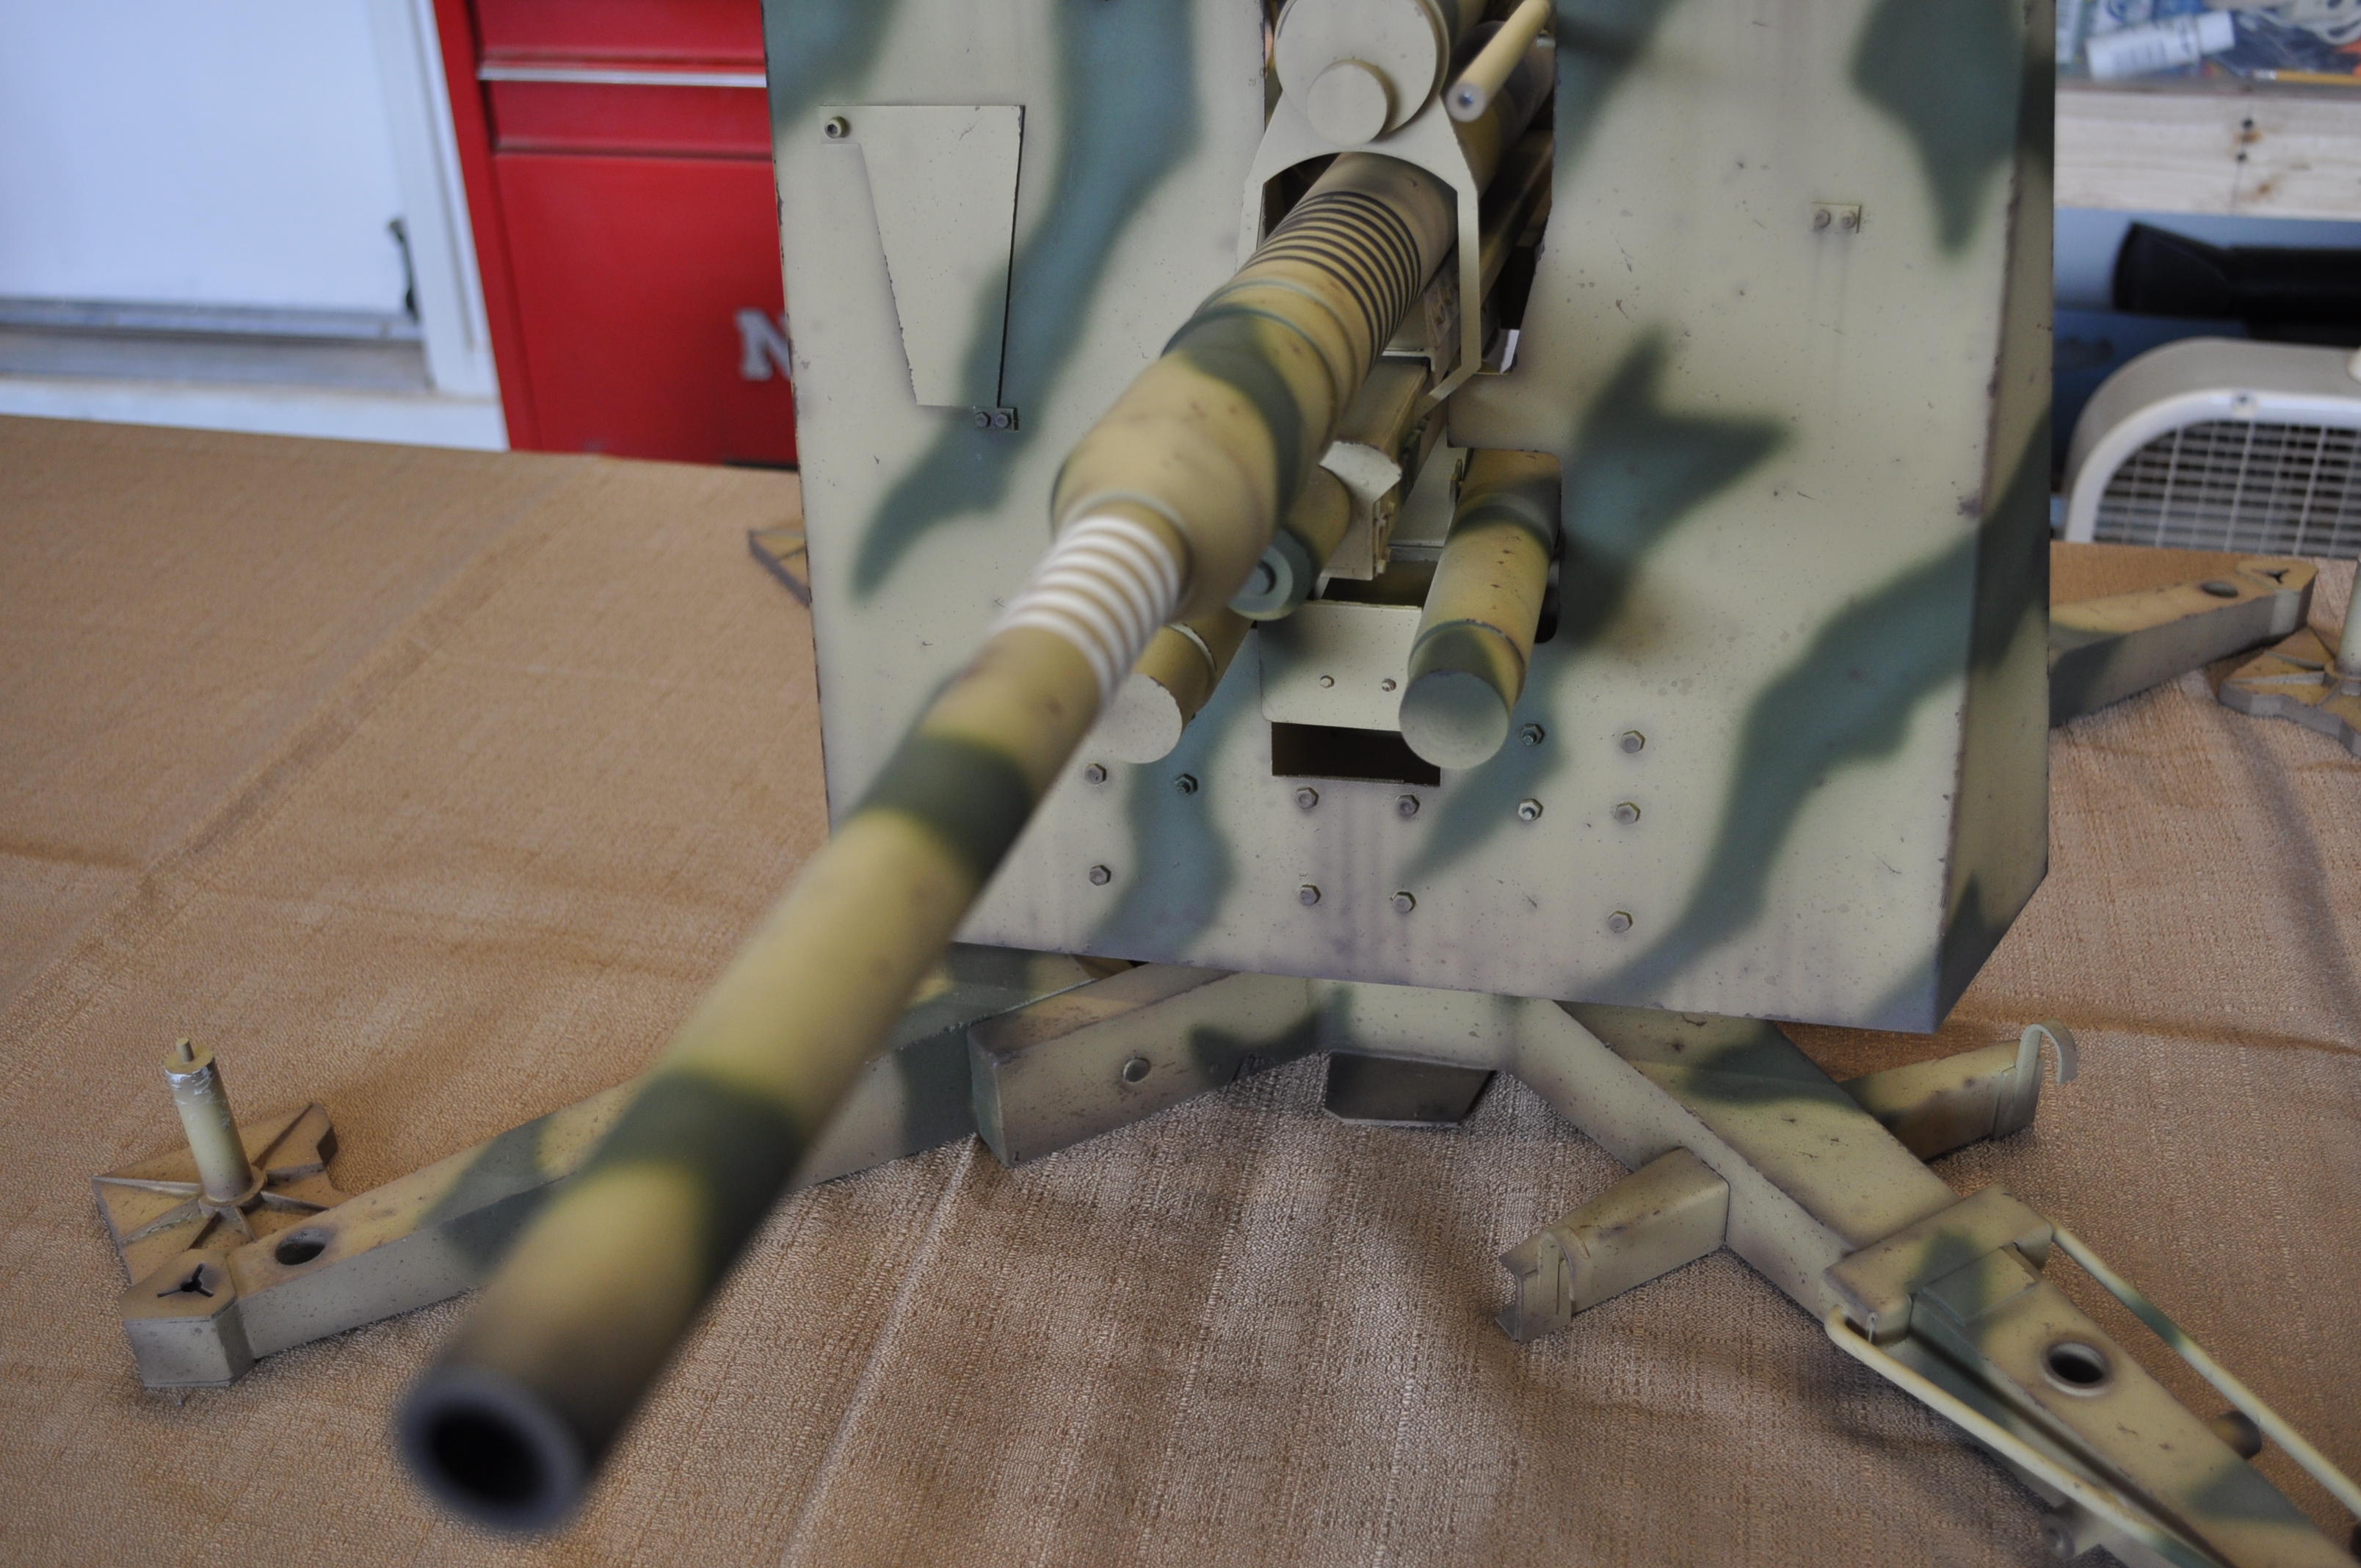
Here are some of the final pictures of the German 88 as painted by Scott Carter of Faded Armour.
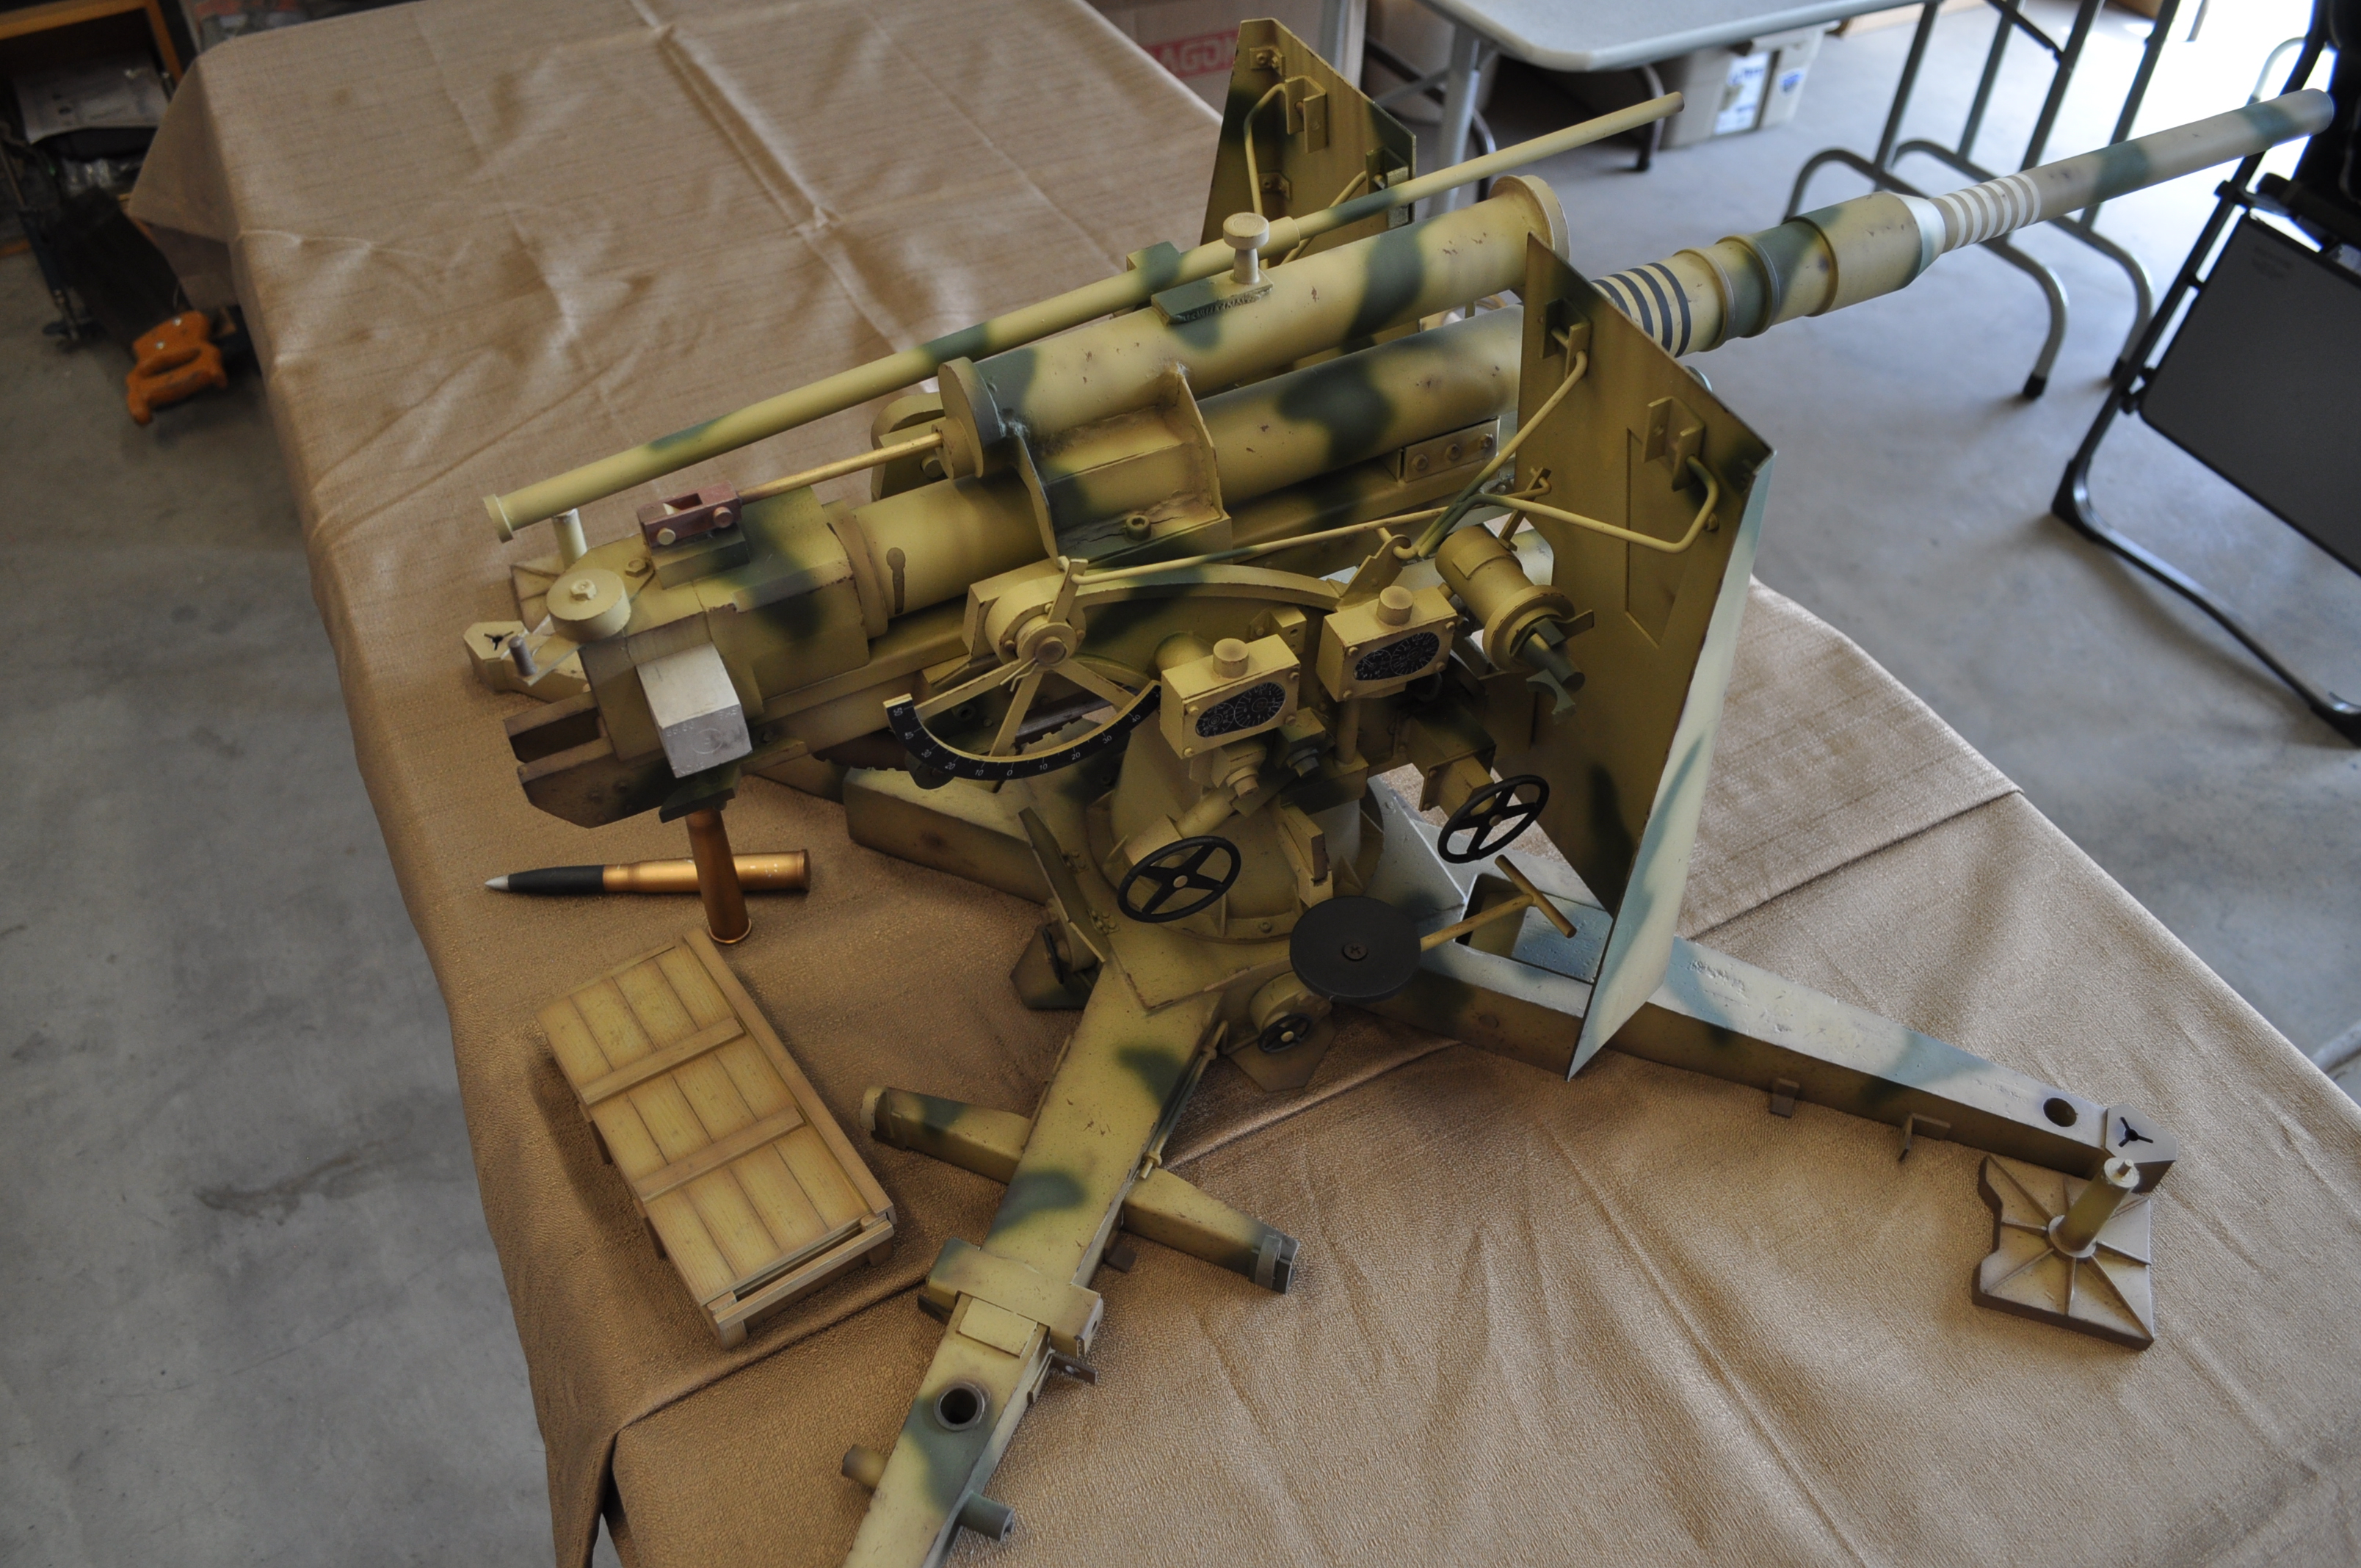

Here are some pics with a gun crew added. Javier of www.war-toys.com is very excited.
![IMG_6734[1]](http://www.azjoeheads.com/blog/wp-content/uploads/2014/04/IMG_67341.jpg)
![IMG_6732[1]](http://www.azjoeheads.com/blog/wp-content/uploads/2014/04/IMG_67321.jpg)
![IMG_6735[1]](http://www.azjoeheads.com/blog/wp-content/uploads/2014/04/IMG_67351.jpg)

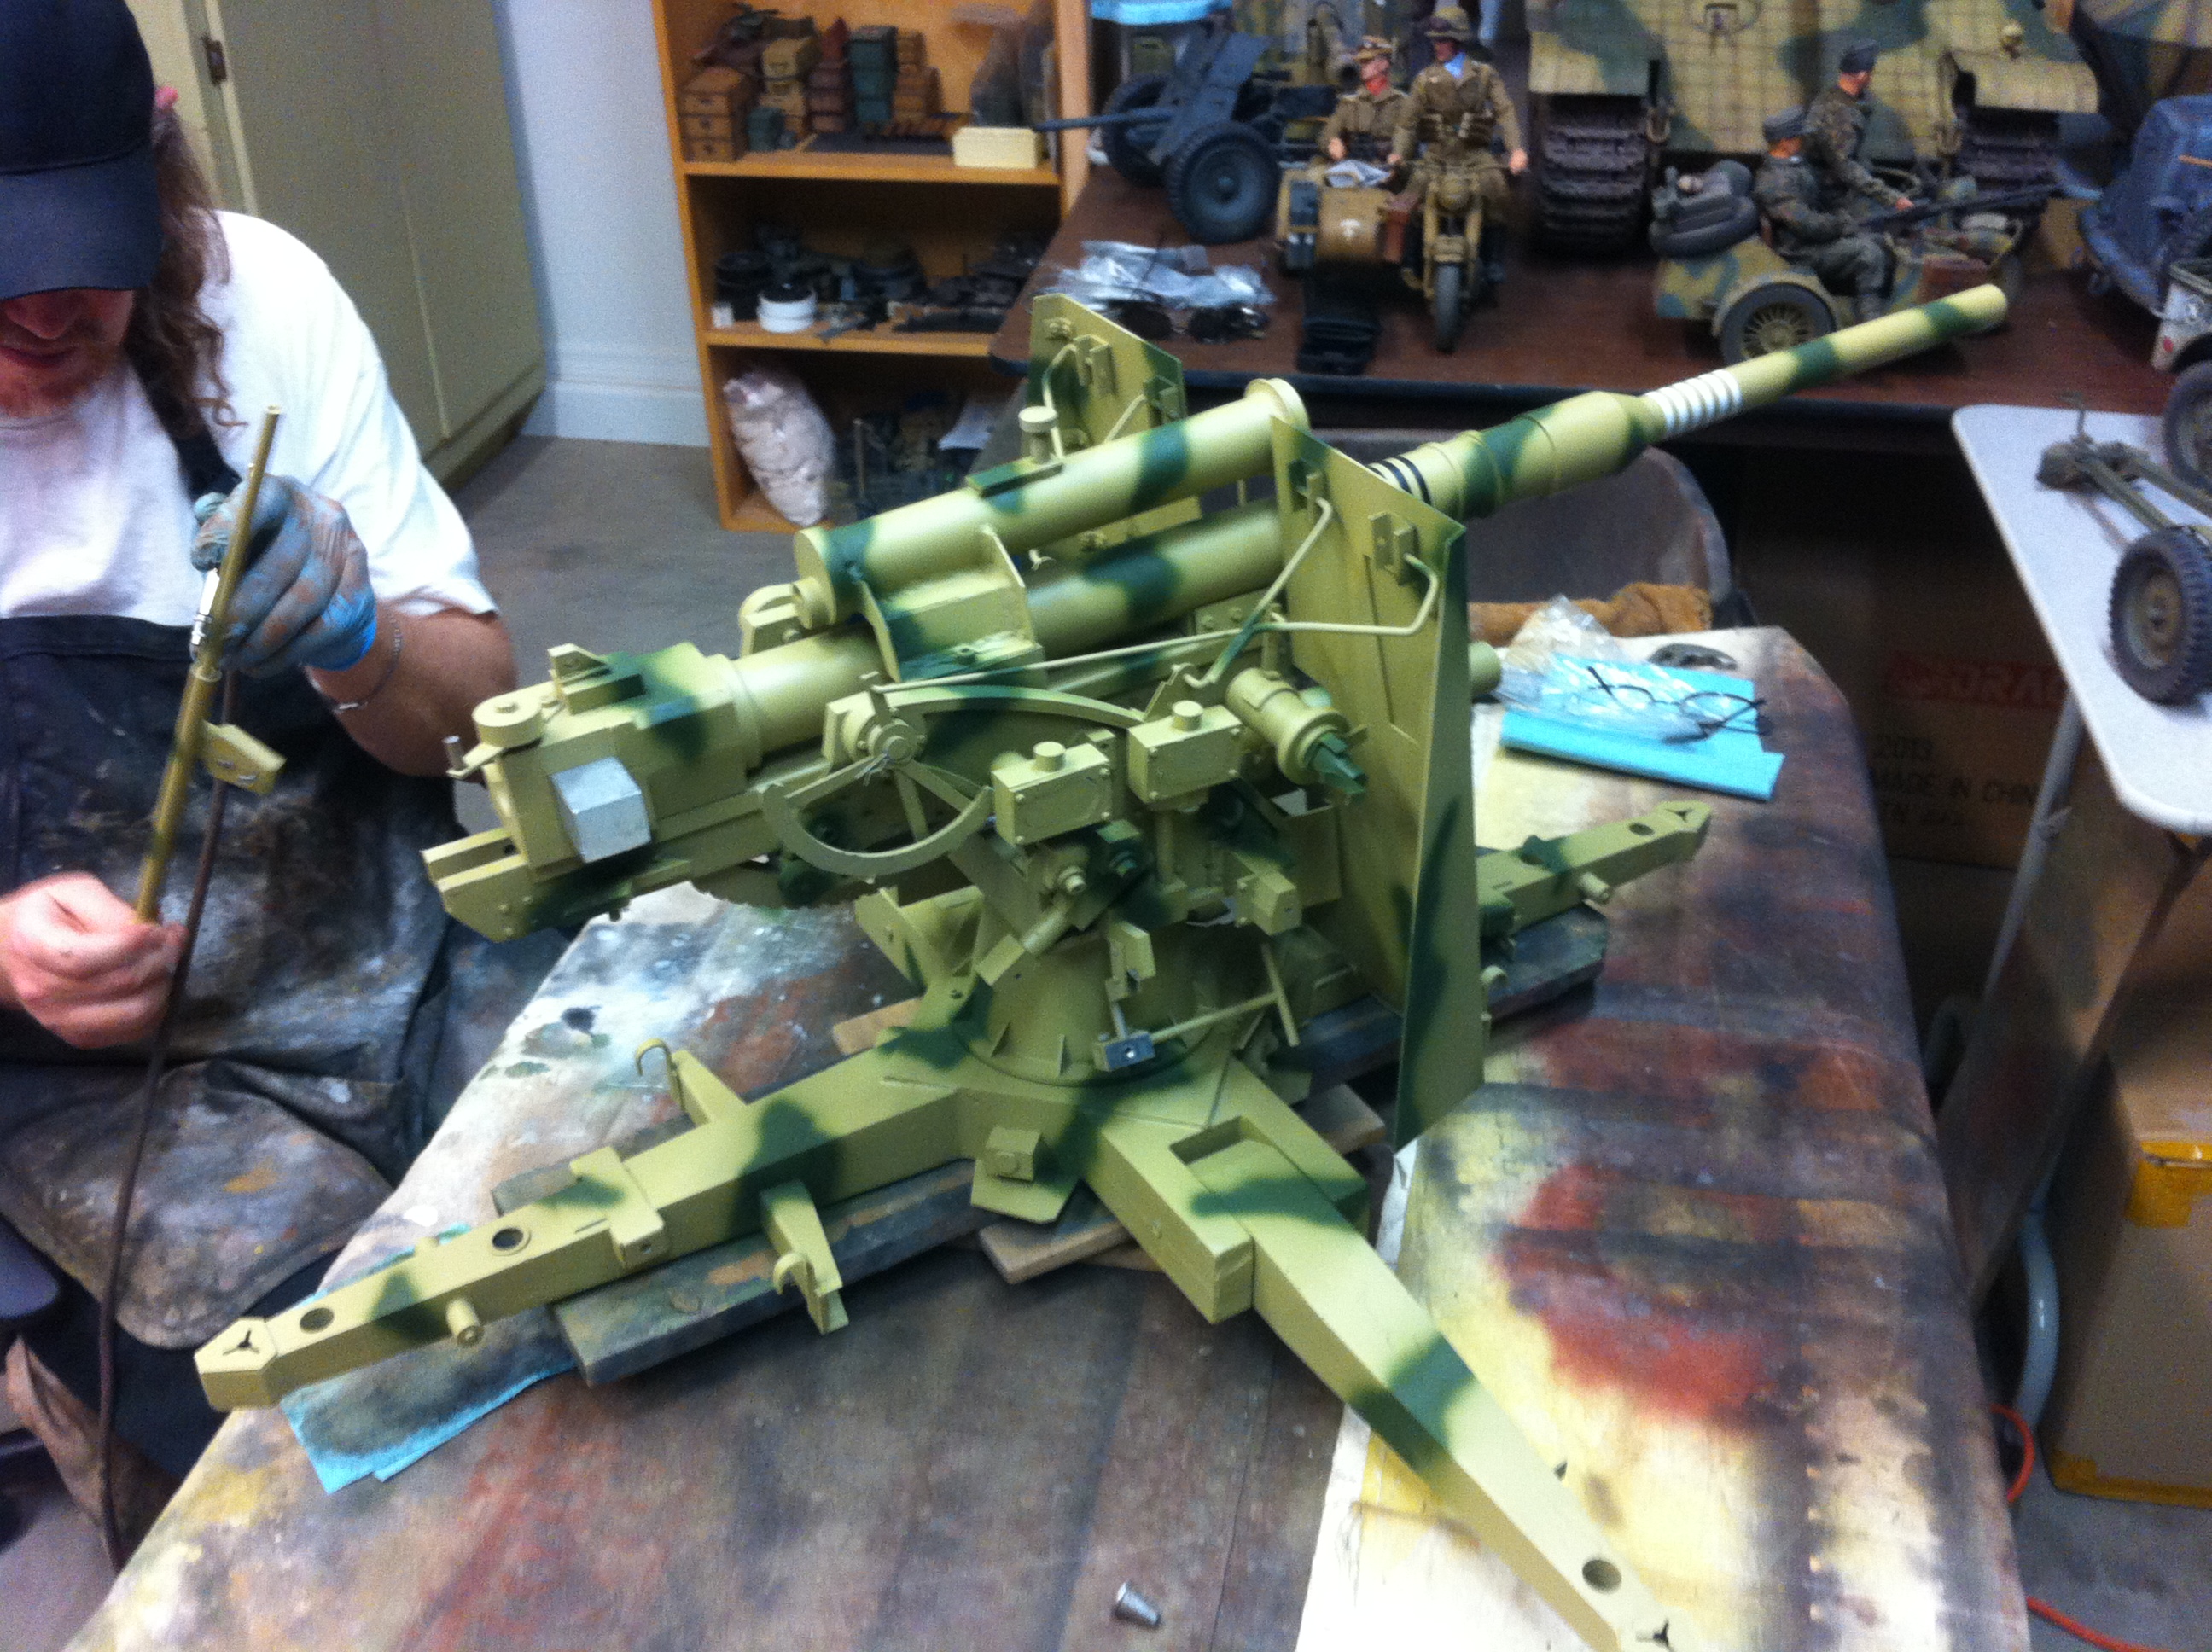
88mm German Flak Gun Project Update
Hi All,
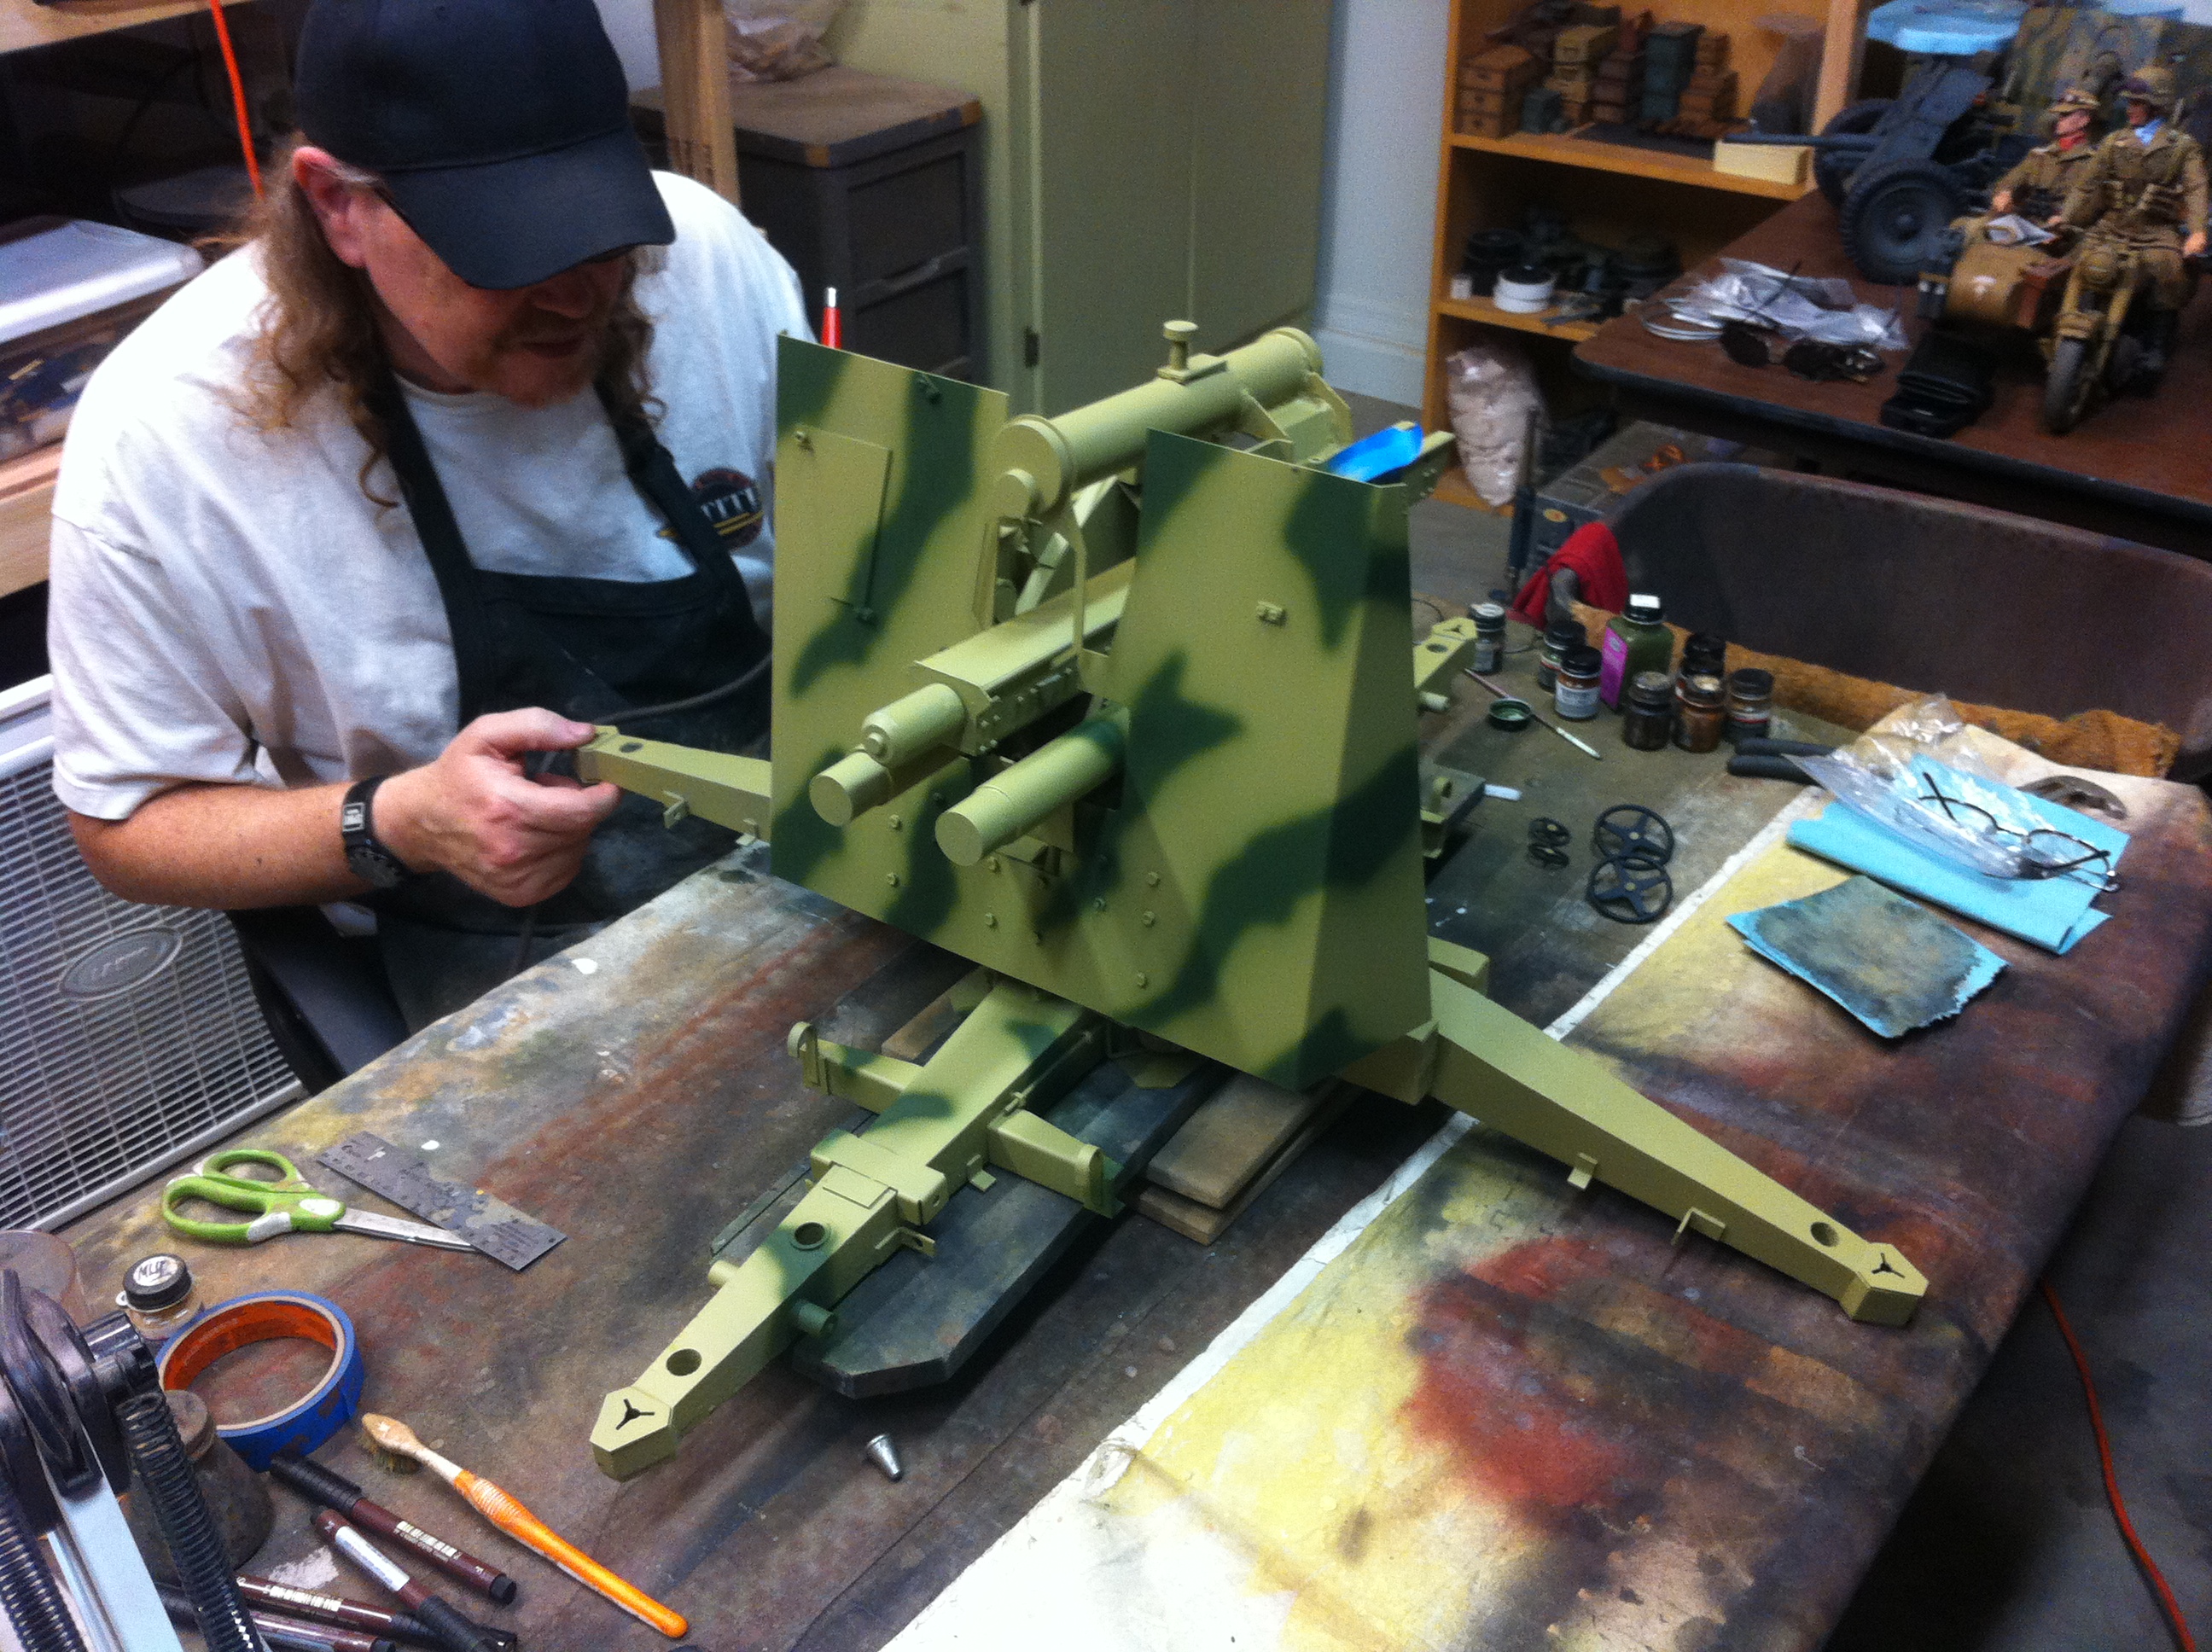
The Weekend of Scott is here and my 88mm German Flak gun has been given the royal treatment. Here are some in process pictures. Glamour shots to come soon on the main site.
Scott paints this in phases. He starts off with studying the project.
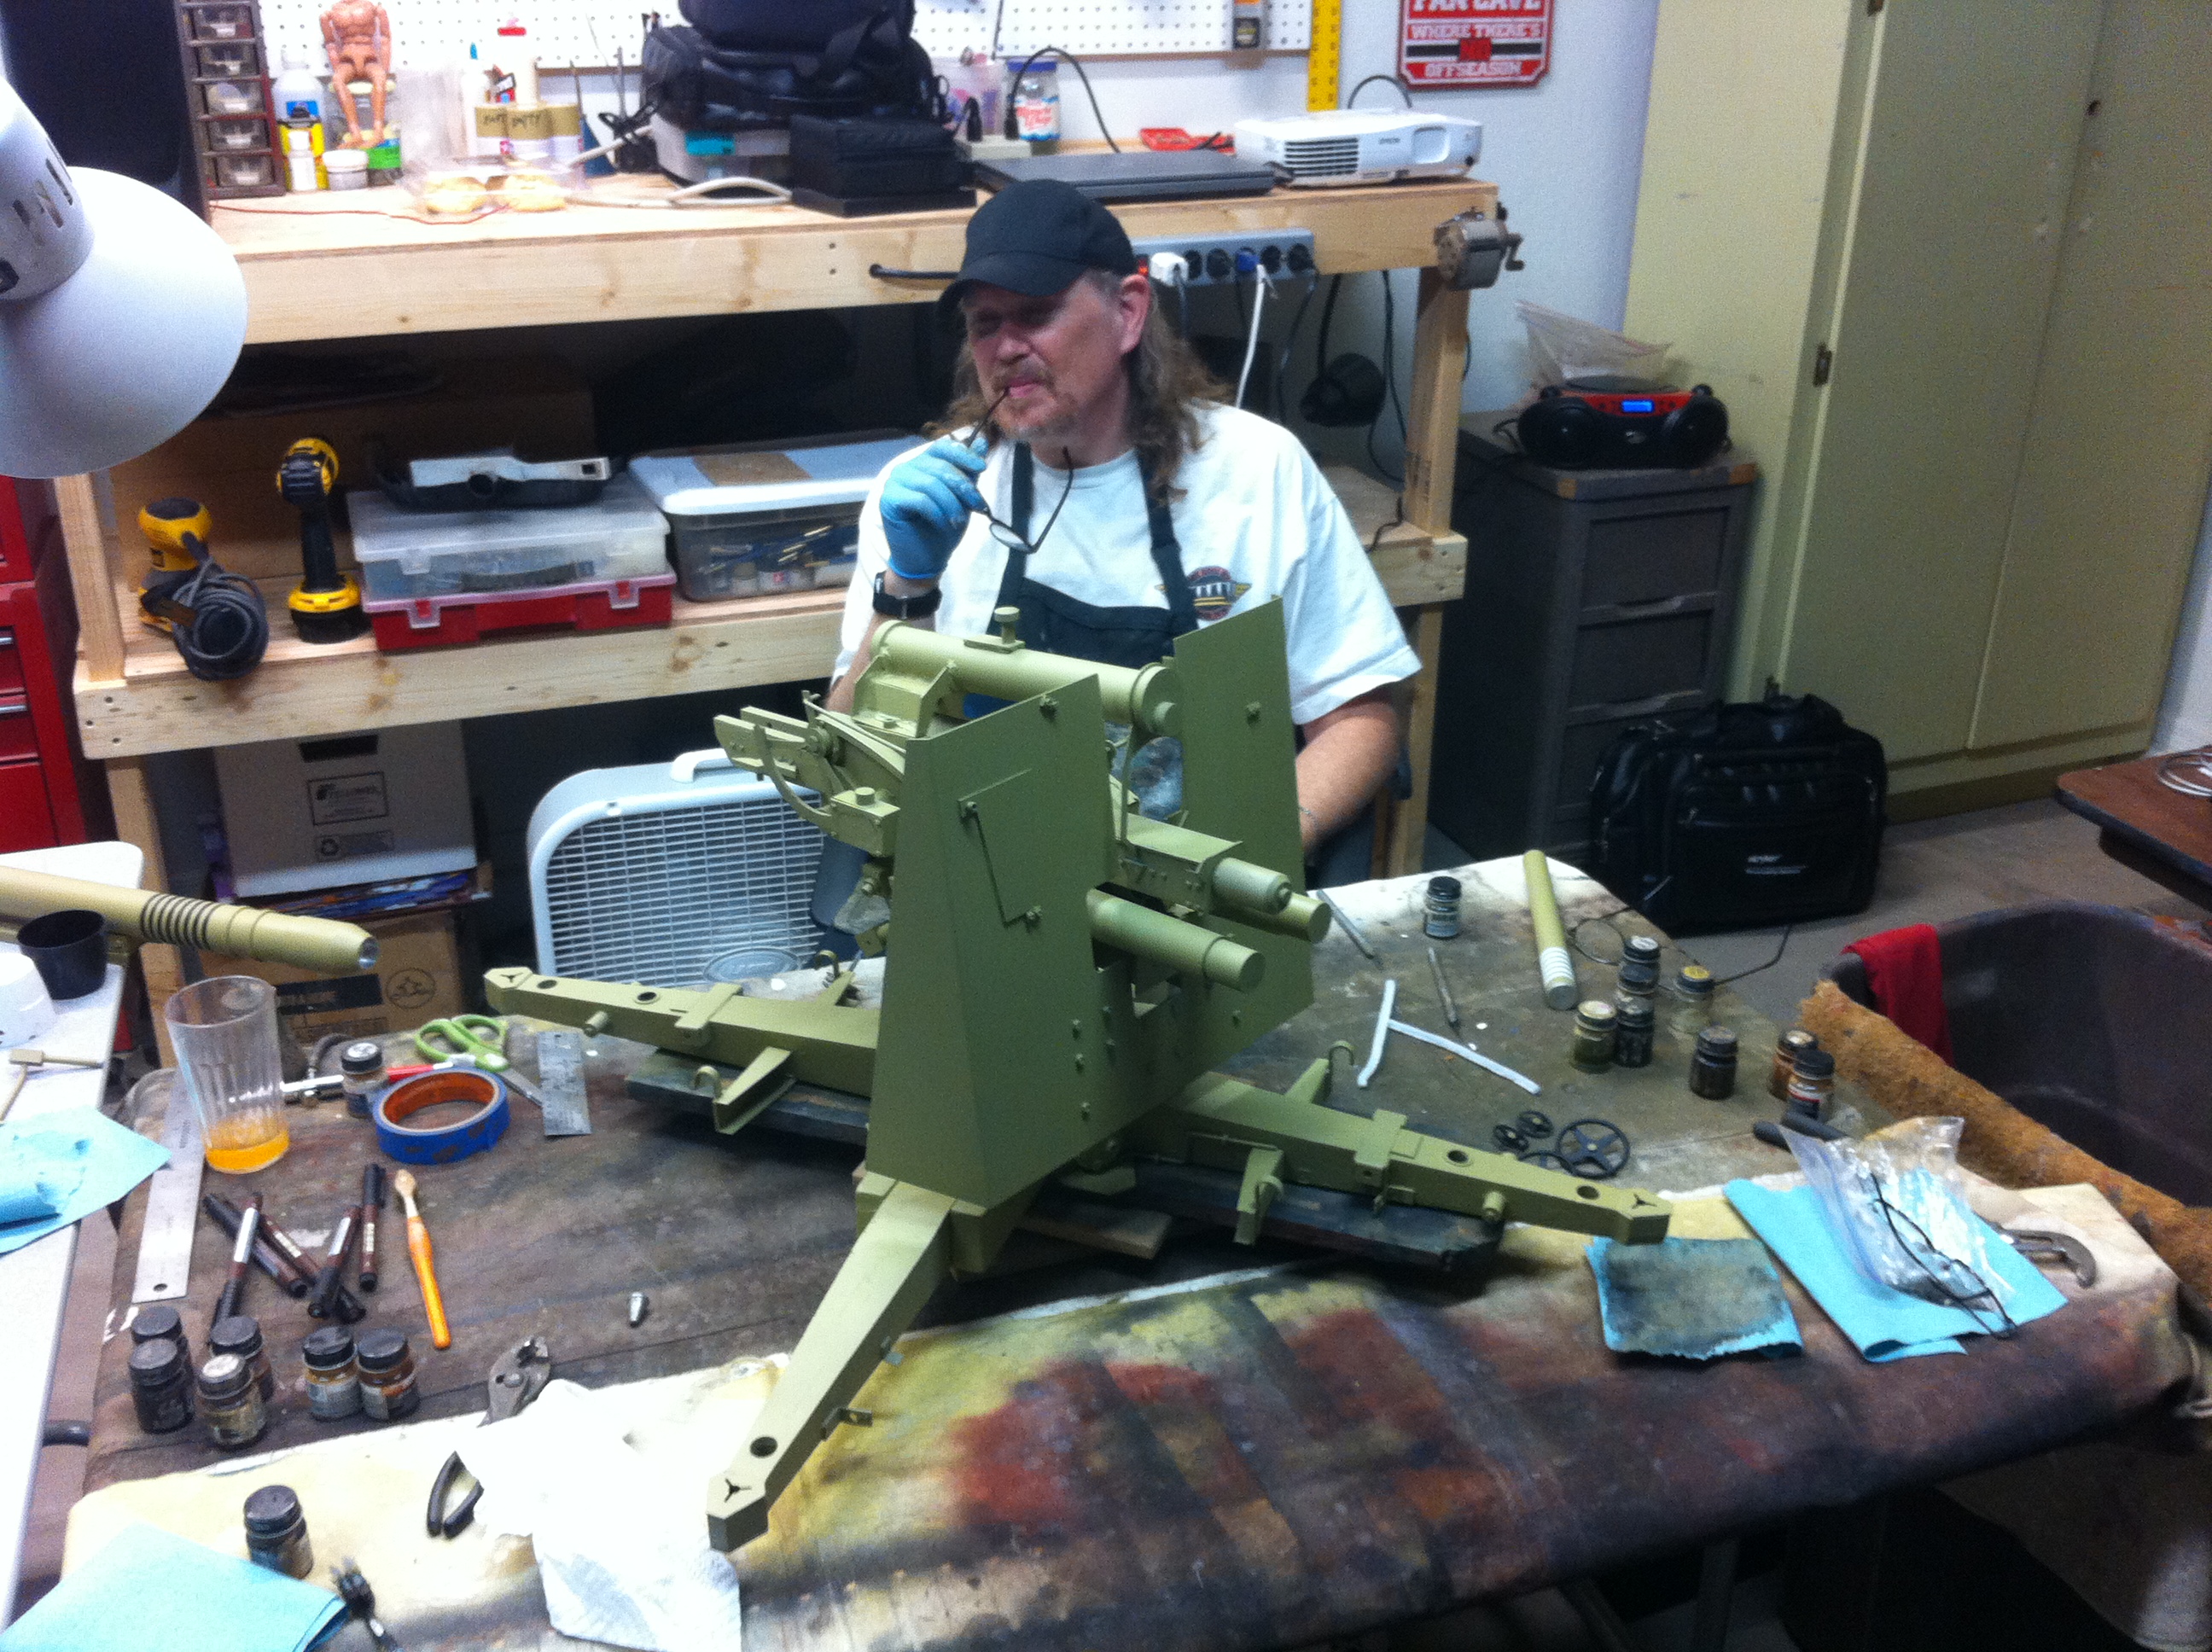
Scott studying
First off, the camo pattern is added.
Barrel installed with rings on the barrel to denote gun hits (scores). White for aircraft and black for armor.

After camo application, fading begins.
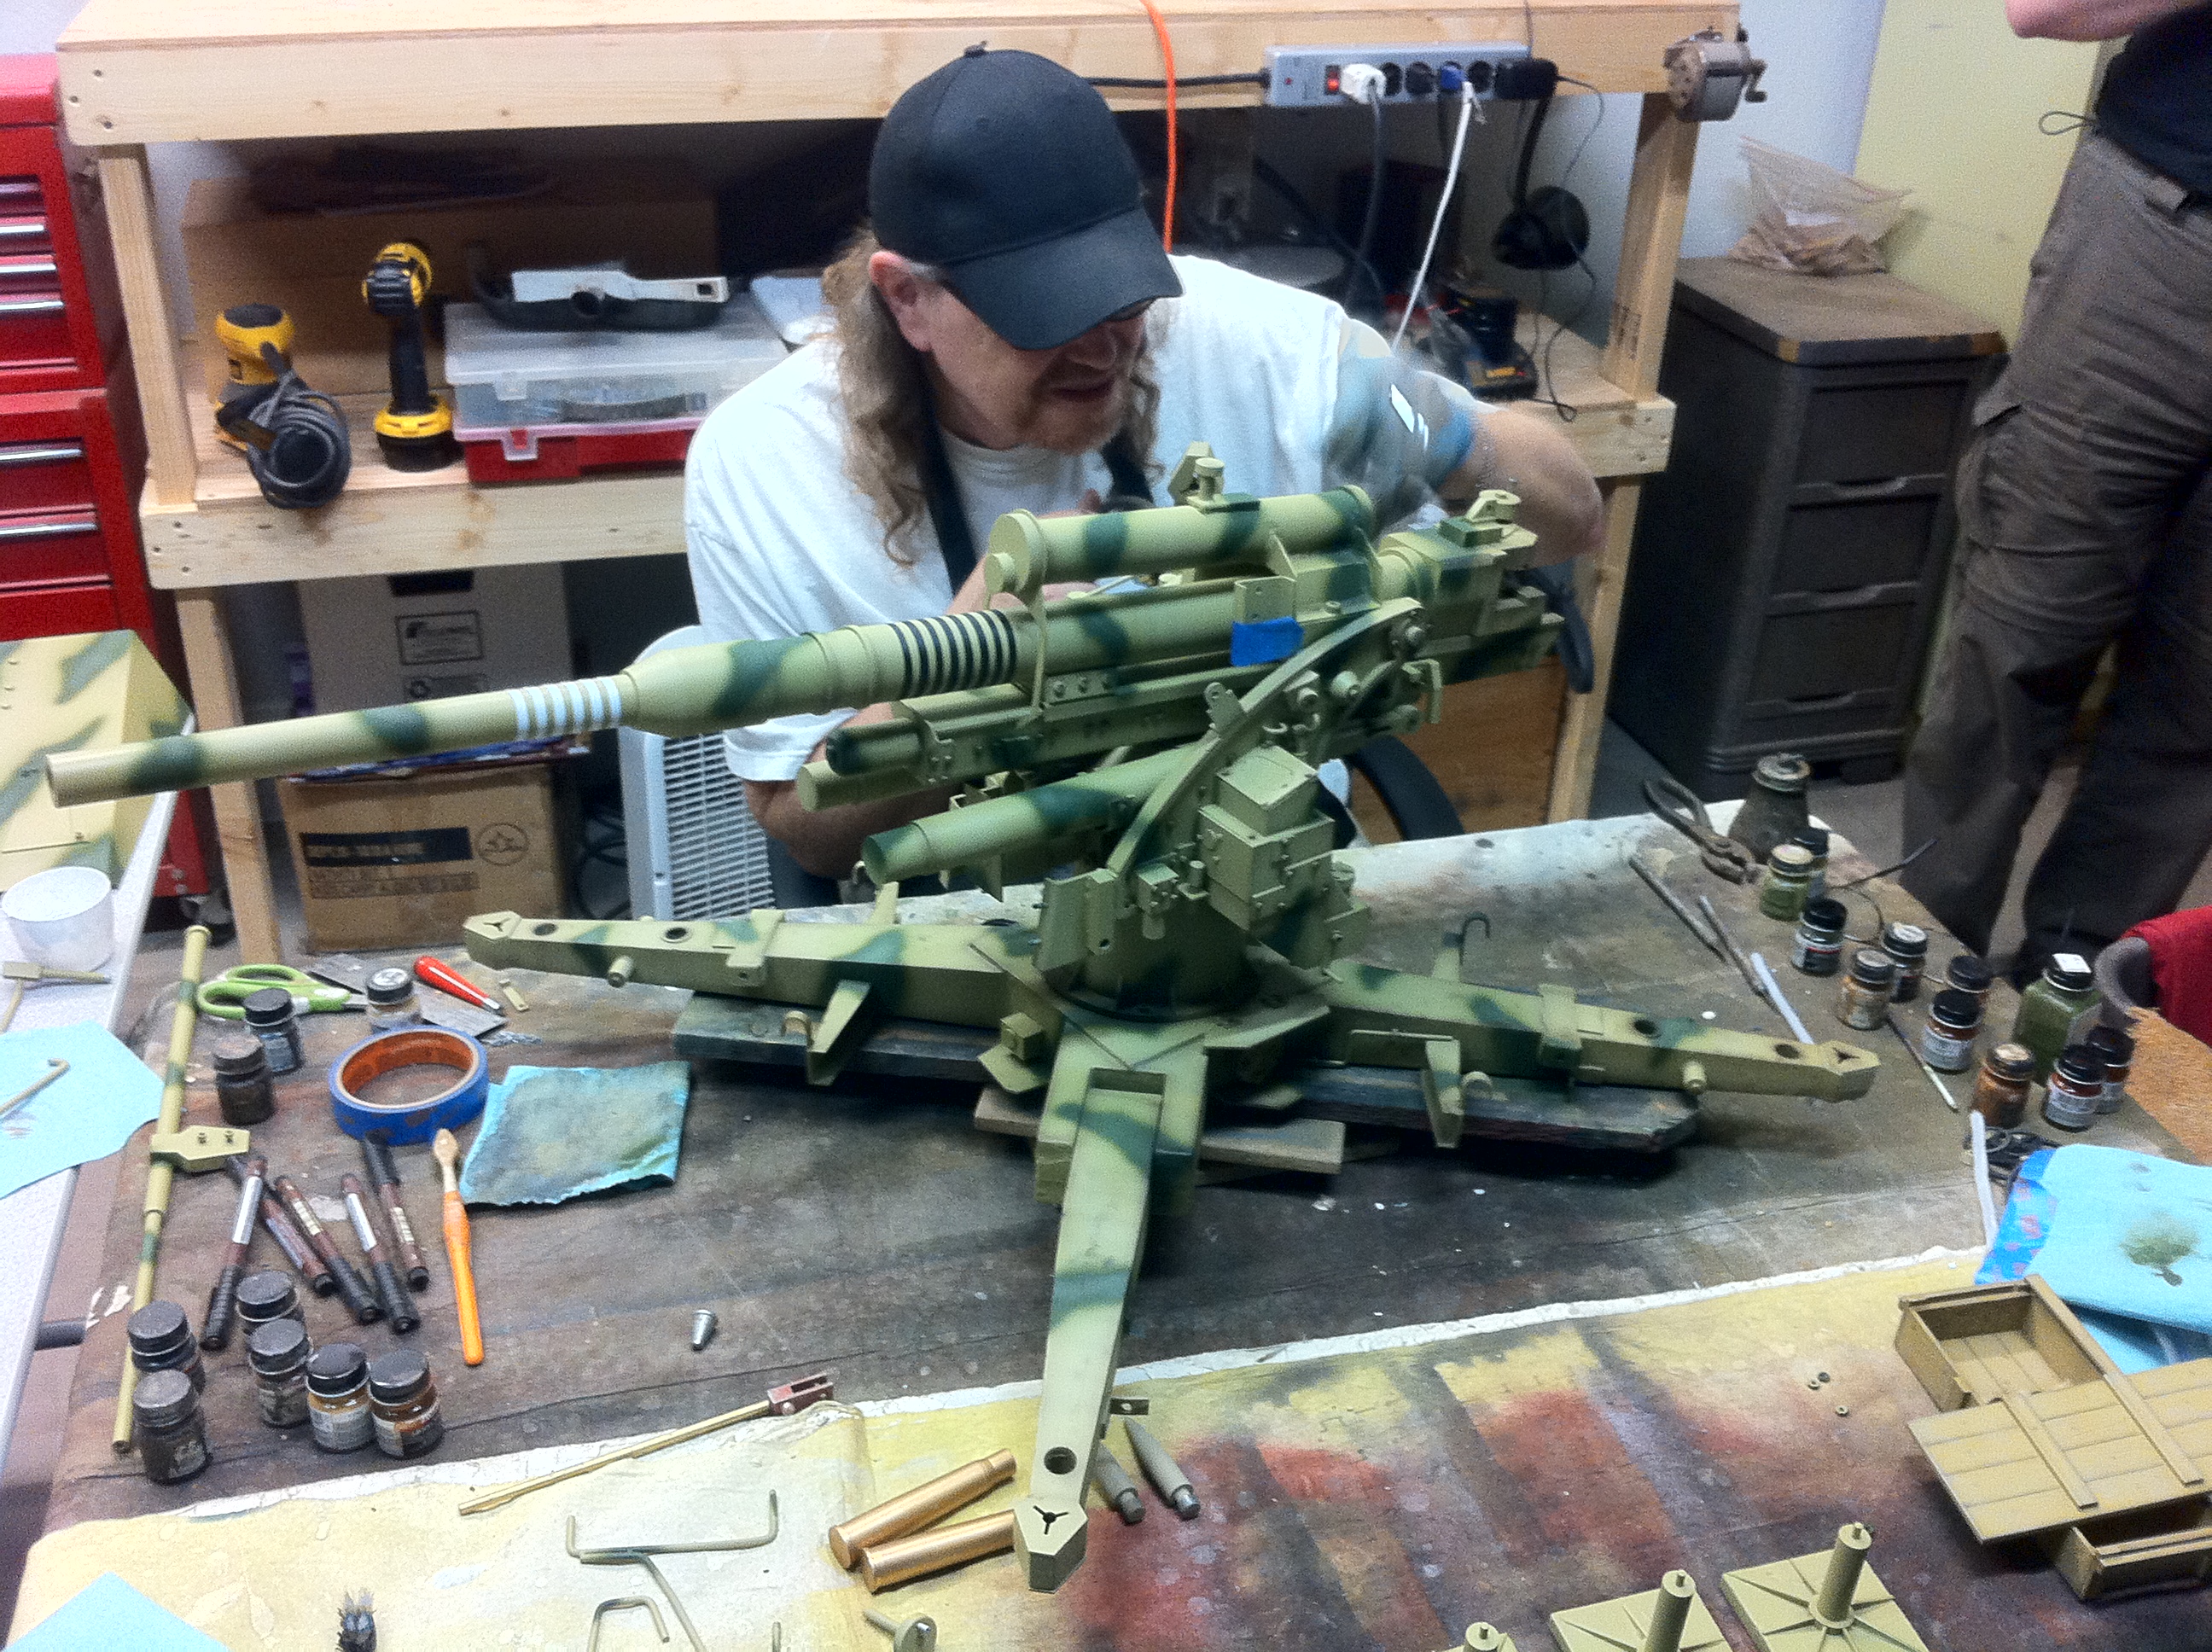
Additional fading with brown highlights.
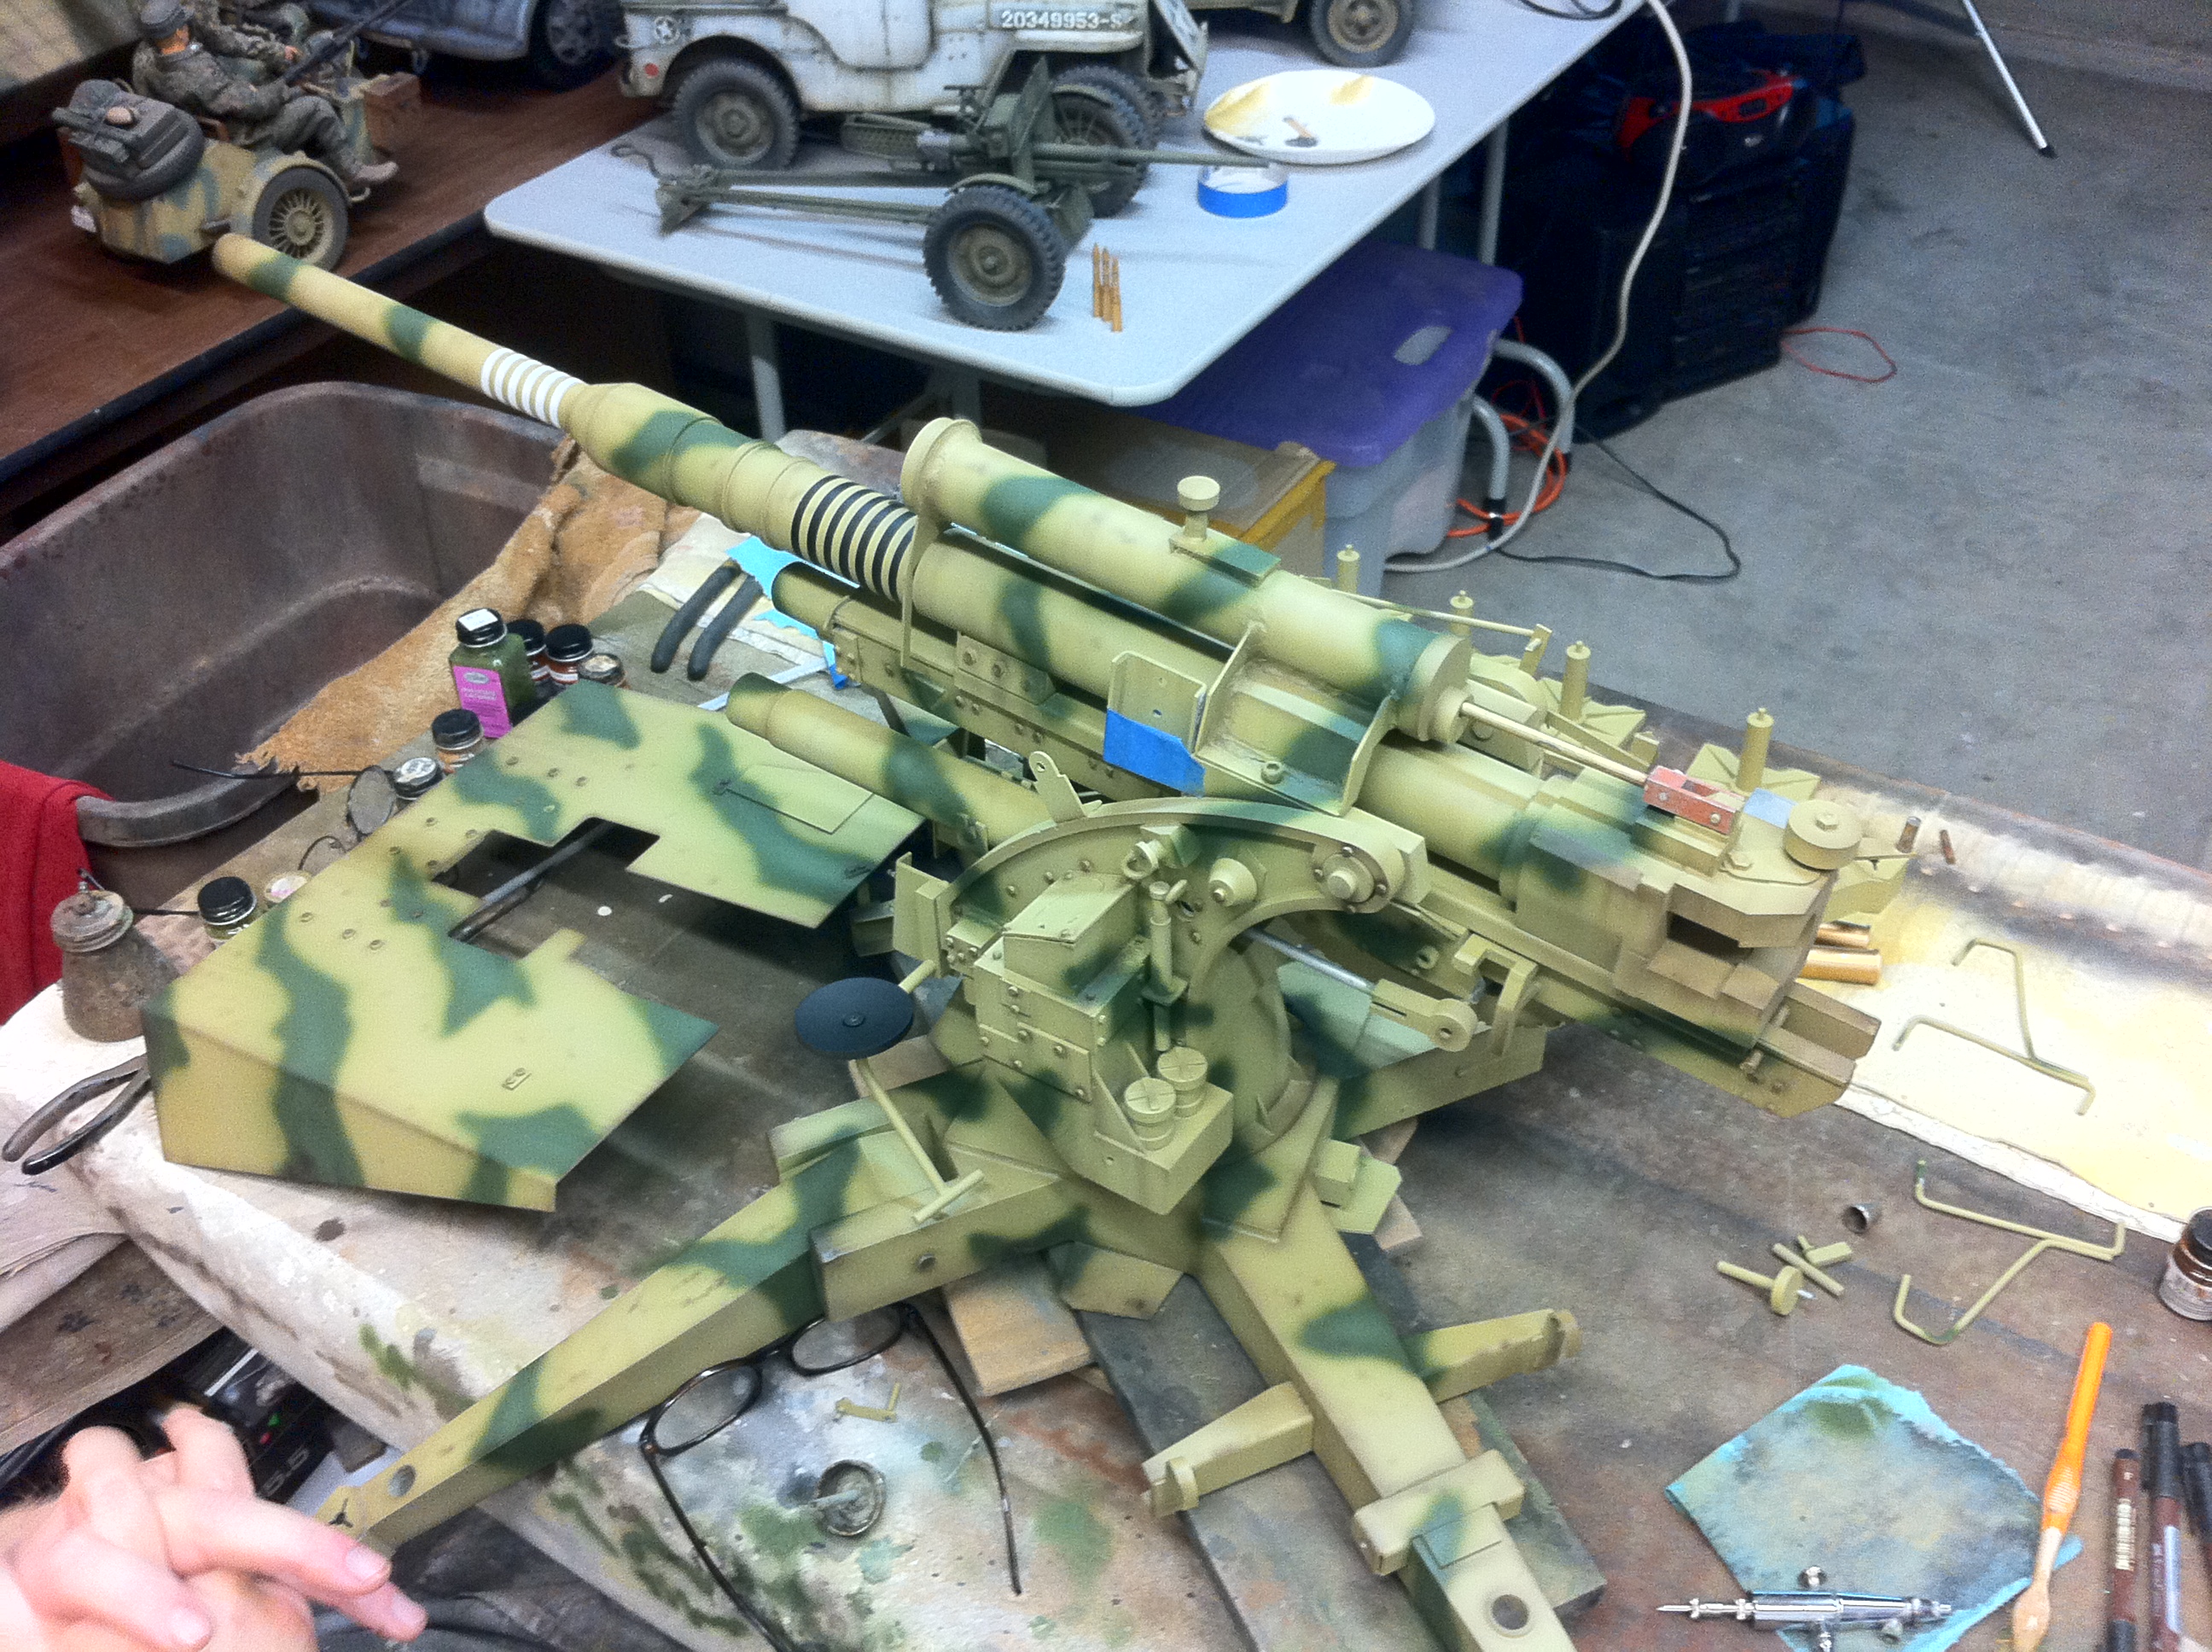
The ending touches include chipping with an artist pen to simulate paint chipping an underlying rusting.

Final pics to come here and on the main site.
German Flak 88mm Project
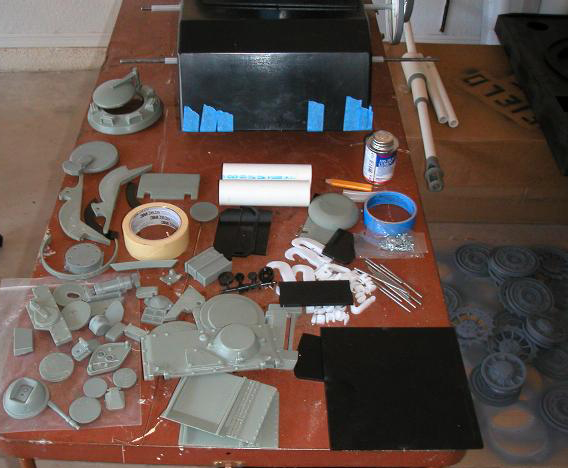
Greetings. Here are some pics of my 88mm tear down and rebuild. The original model was sold by Merit Intl and is all metal and super heavy. The original factory pics show a very glossy paint scheme. This paint was applied without adequate primer, so it needed to be removed and reapplied.
In the process of removing the paint, I found that all of the detail pieces were glued on with a glue that easily came off in paint removal. Thus, a rebuild was required.
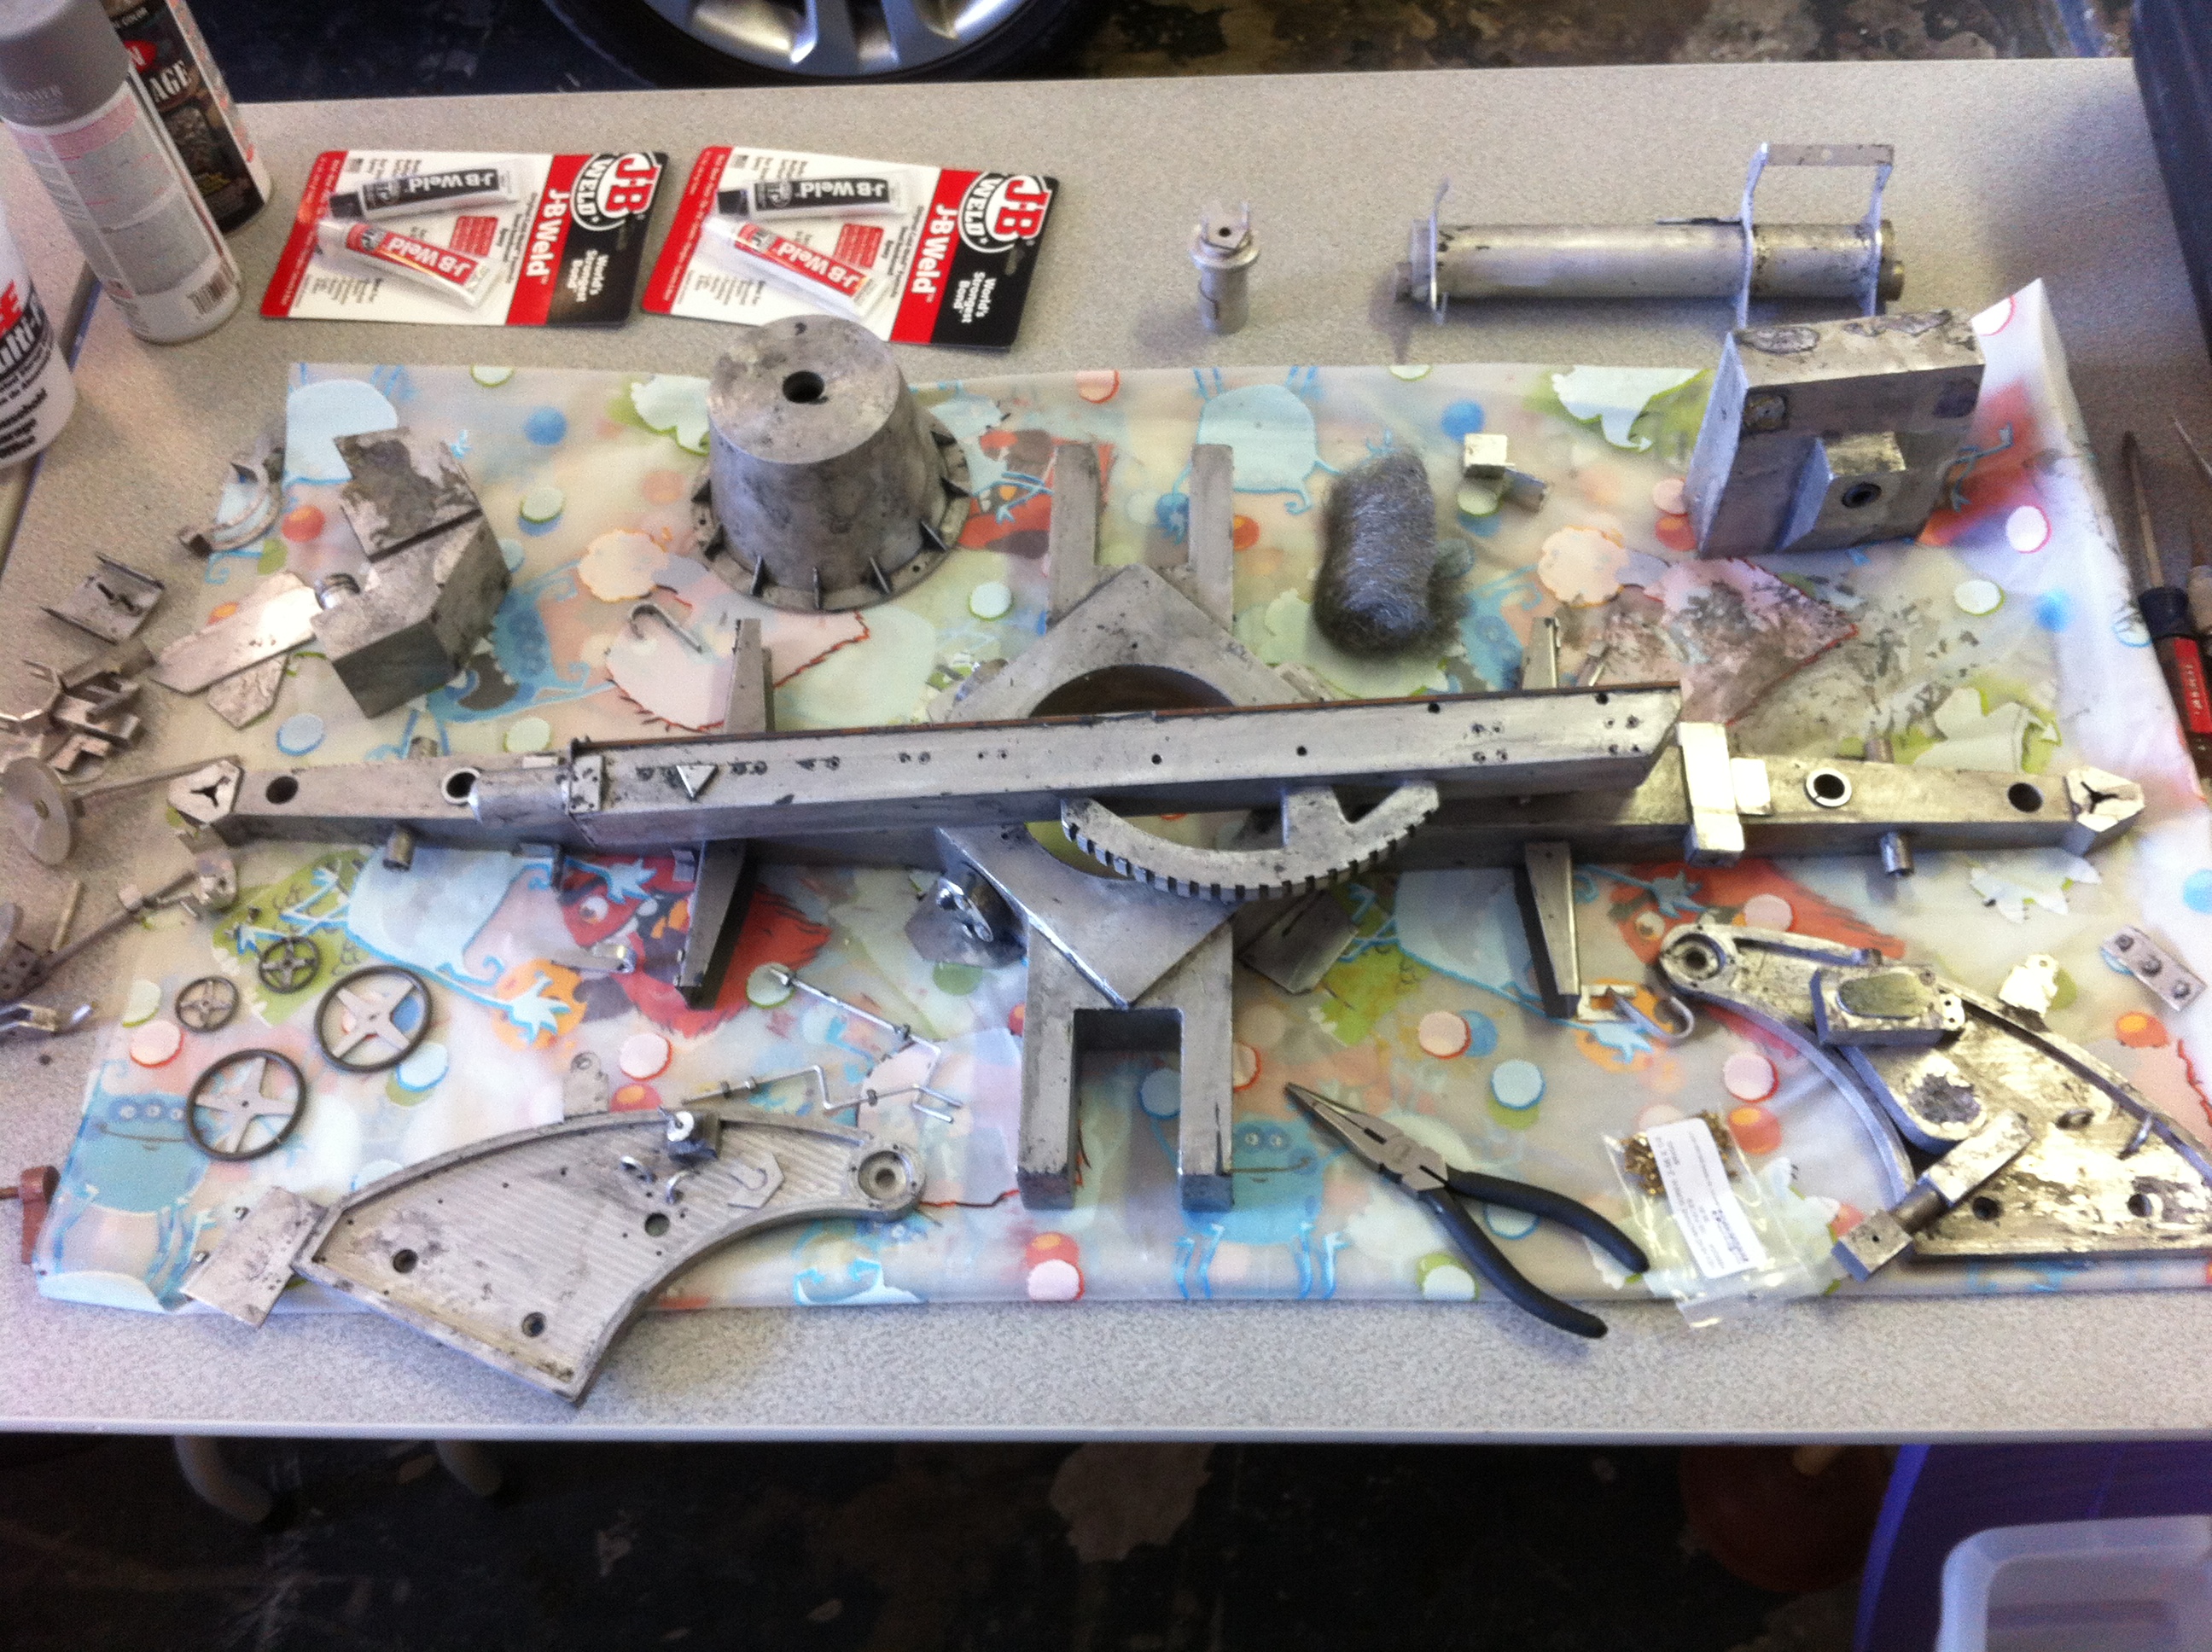
Using JB Weld was the key and using micro machine brass bolts added the right detail without any gluing. Just drill a pilot hole and tap them into place for a snug fit.I also tried to “pin” some pieces rather than glue them to add additional structural integrity.

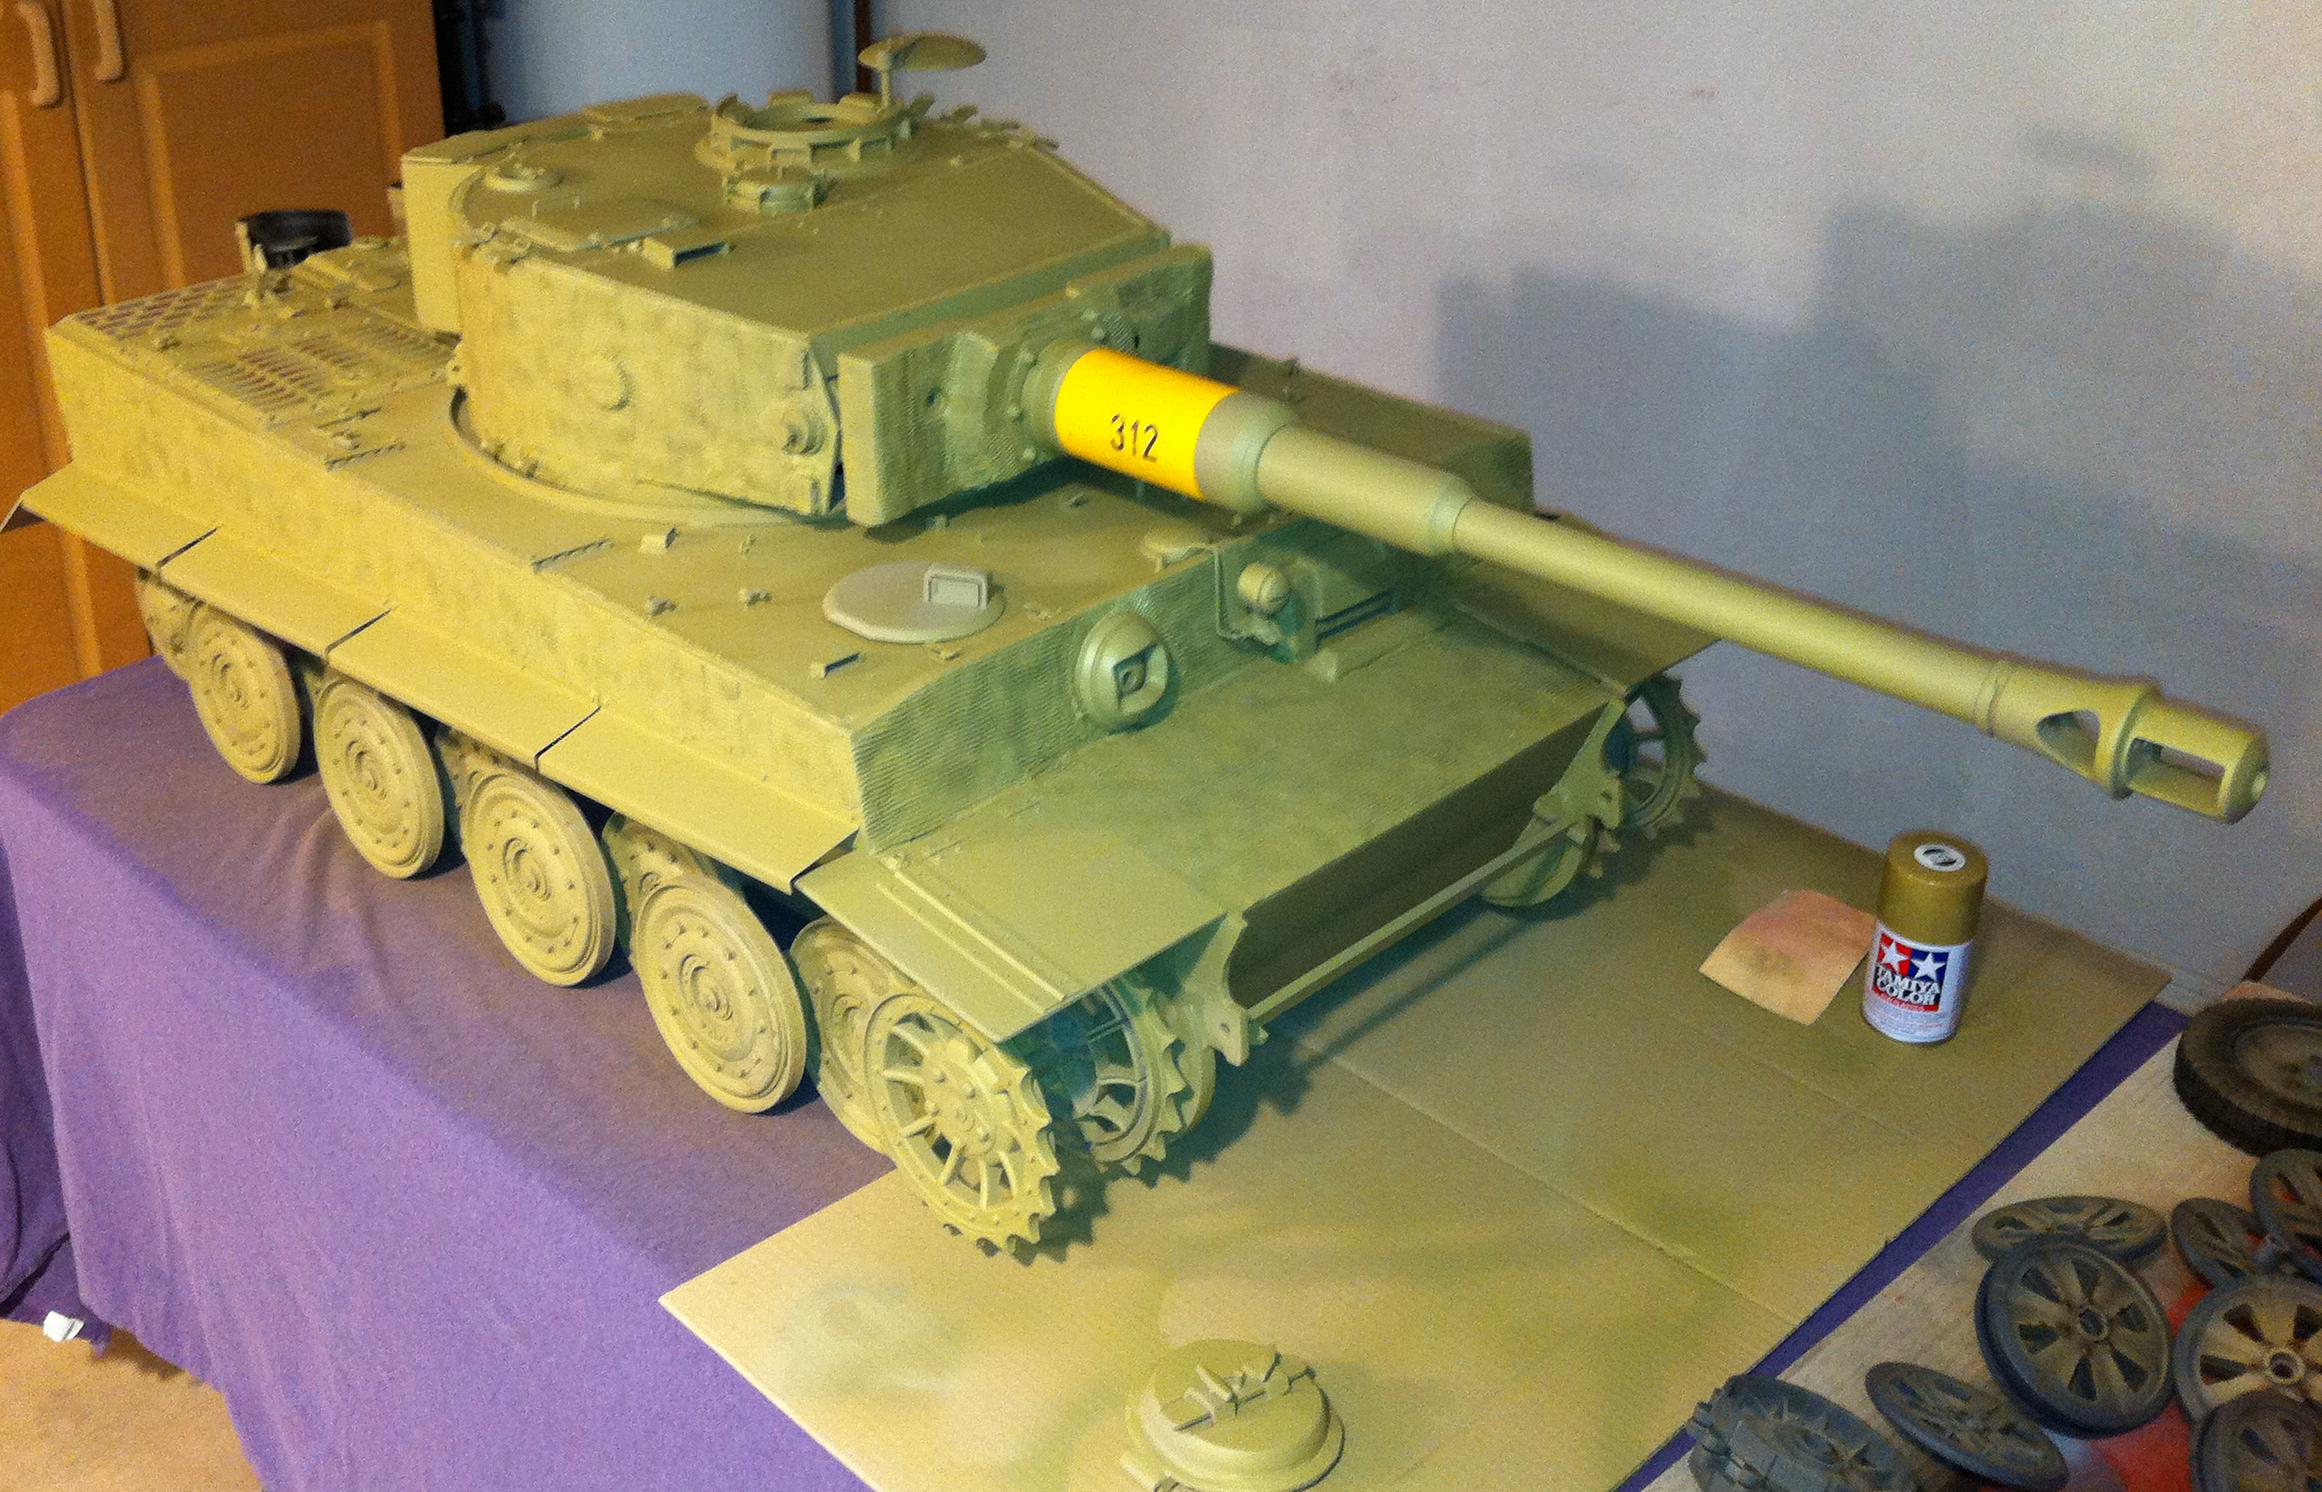
After reassembly, the pieces were all properly painted with primer and then coated with basic Krylon tan camo. This spray paint is ideal. It dries fast, dries flat and provides a nice base to add the final base coat.
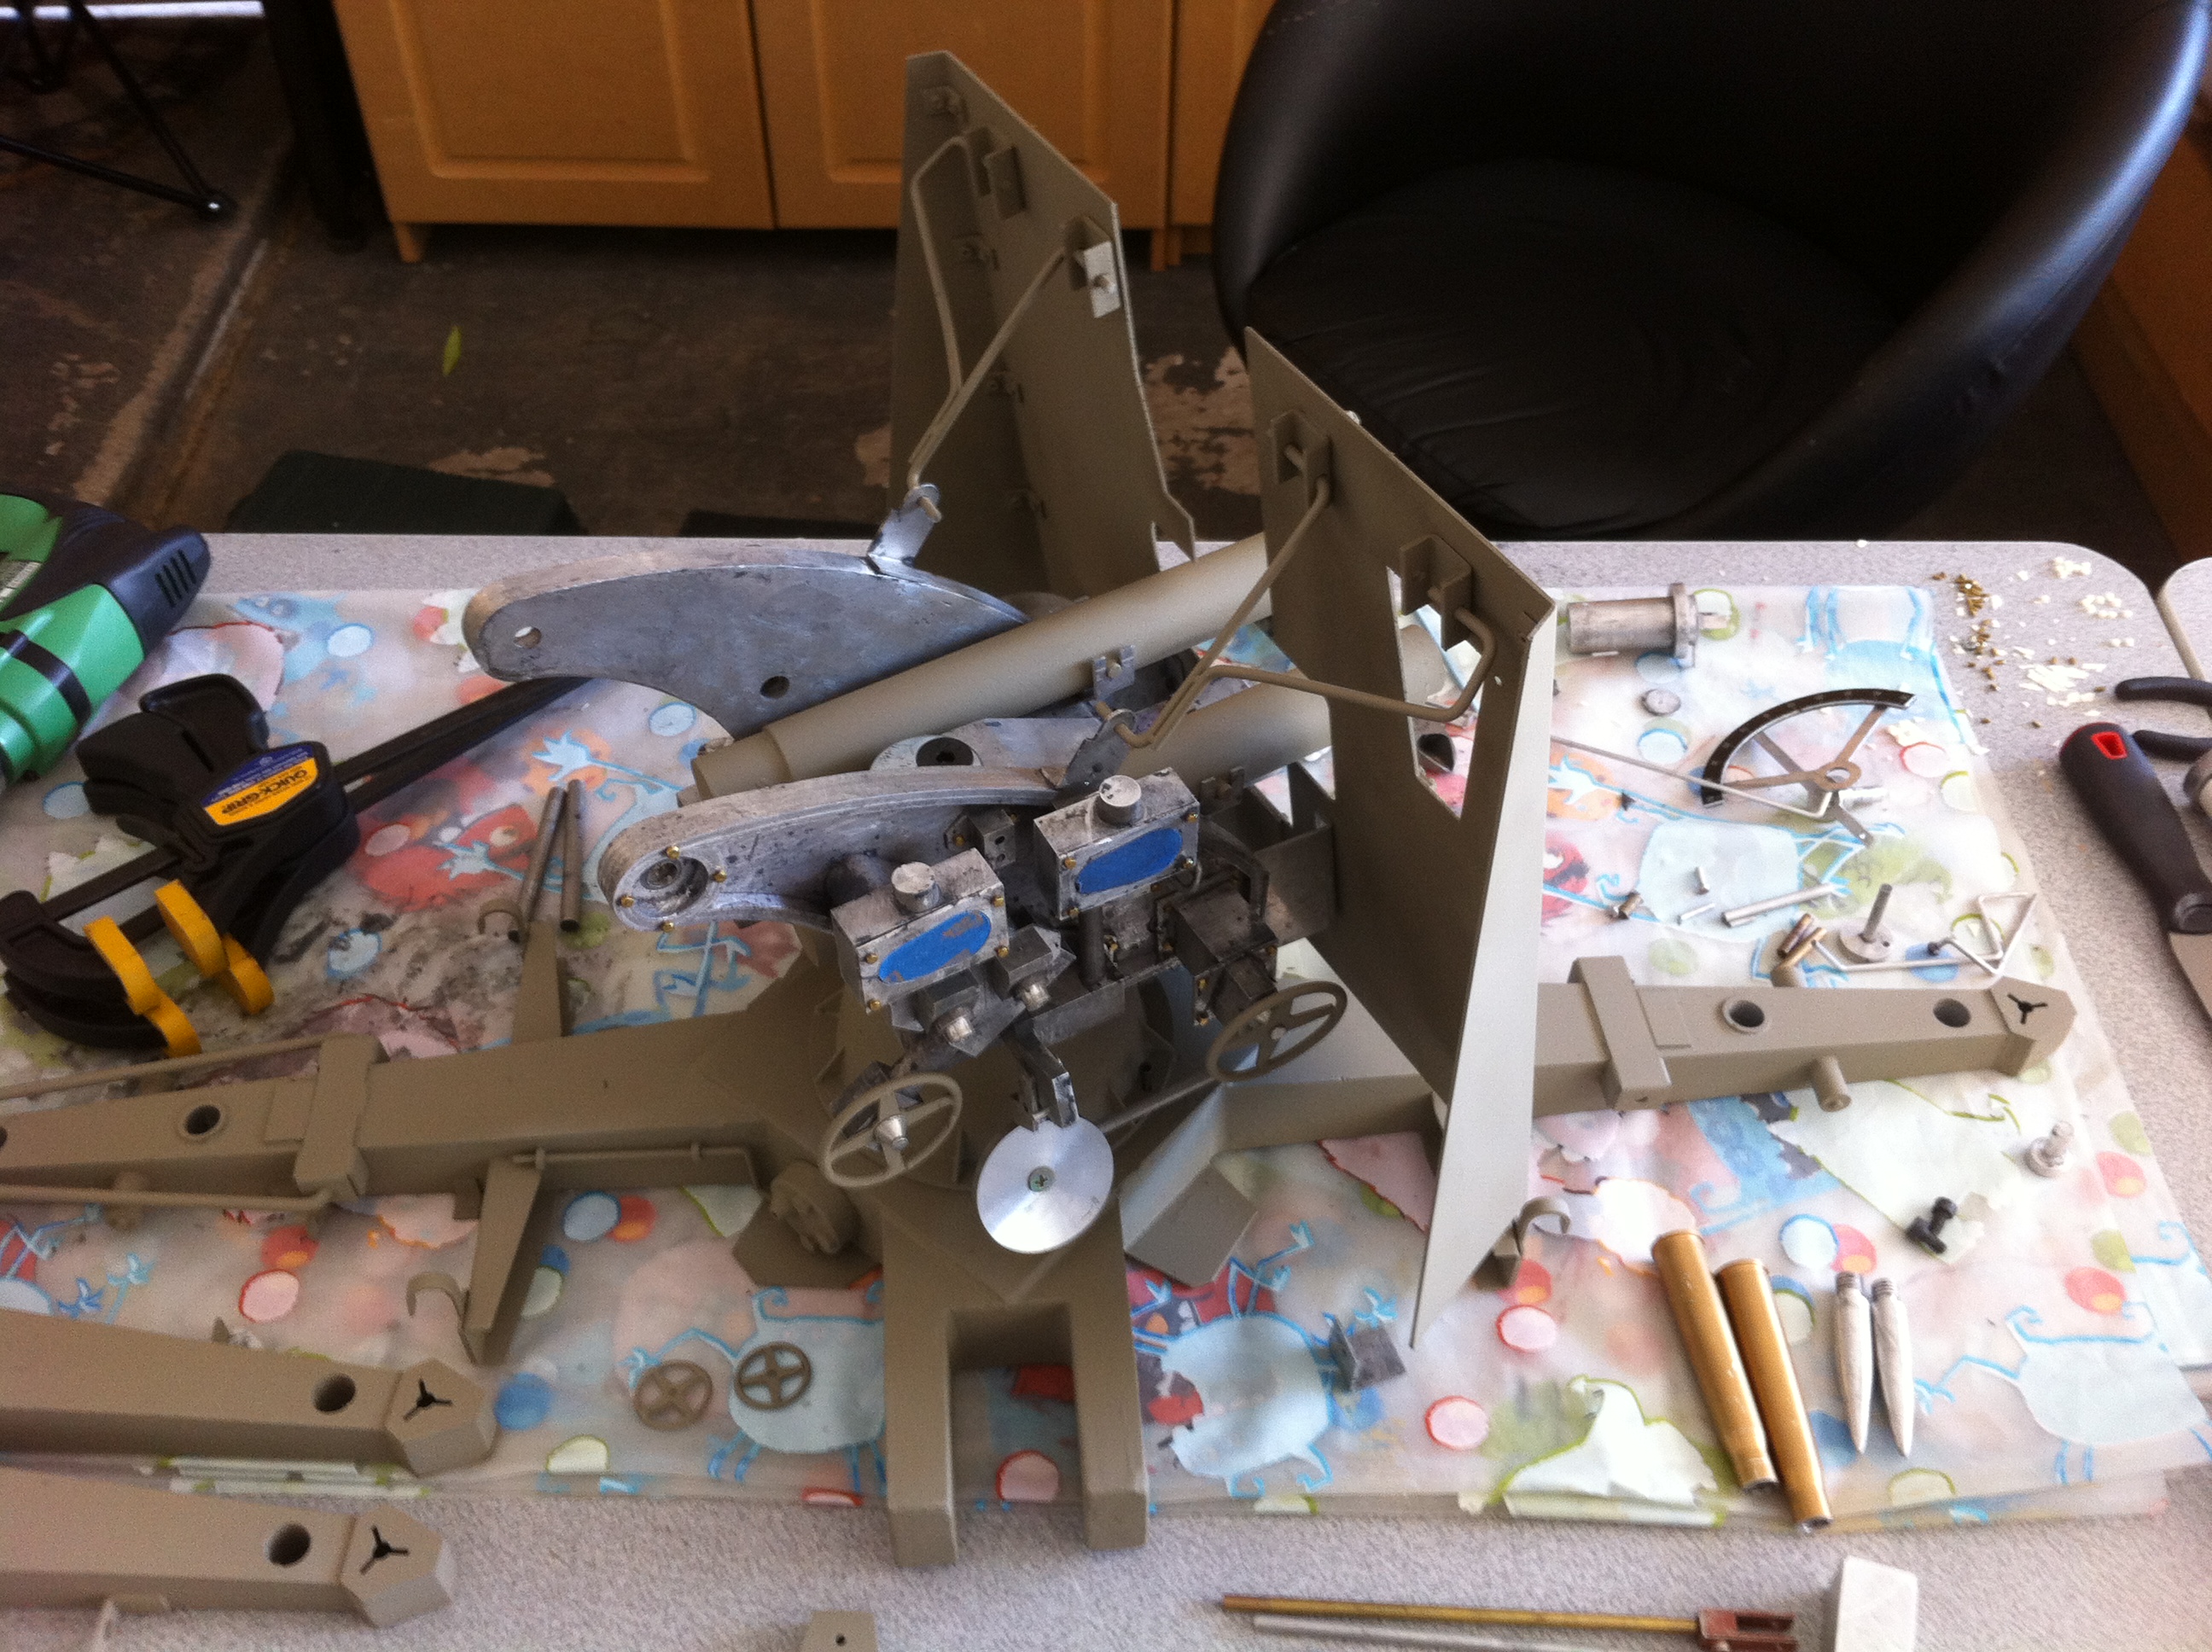
The final base coat uses Tamiya brand Dark Yellow in little spray can bottles. This paint is meant for smaller scale plastic models but it is perfect for 1/6 plastic and metal vehicles. With the tan primer base coat, this stuff applies very nice without having to buy too many small bottles (especially since they are $6-$7 each). I used 4 little bottles to paint all the nooks and crannies on this beast.
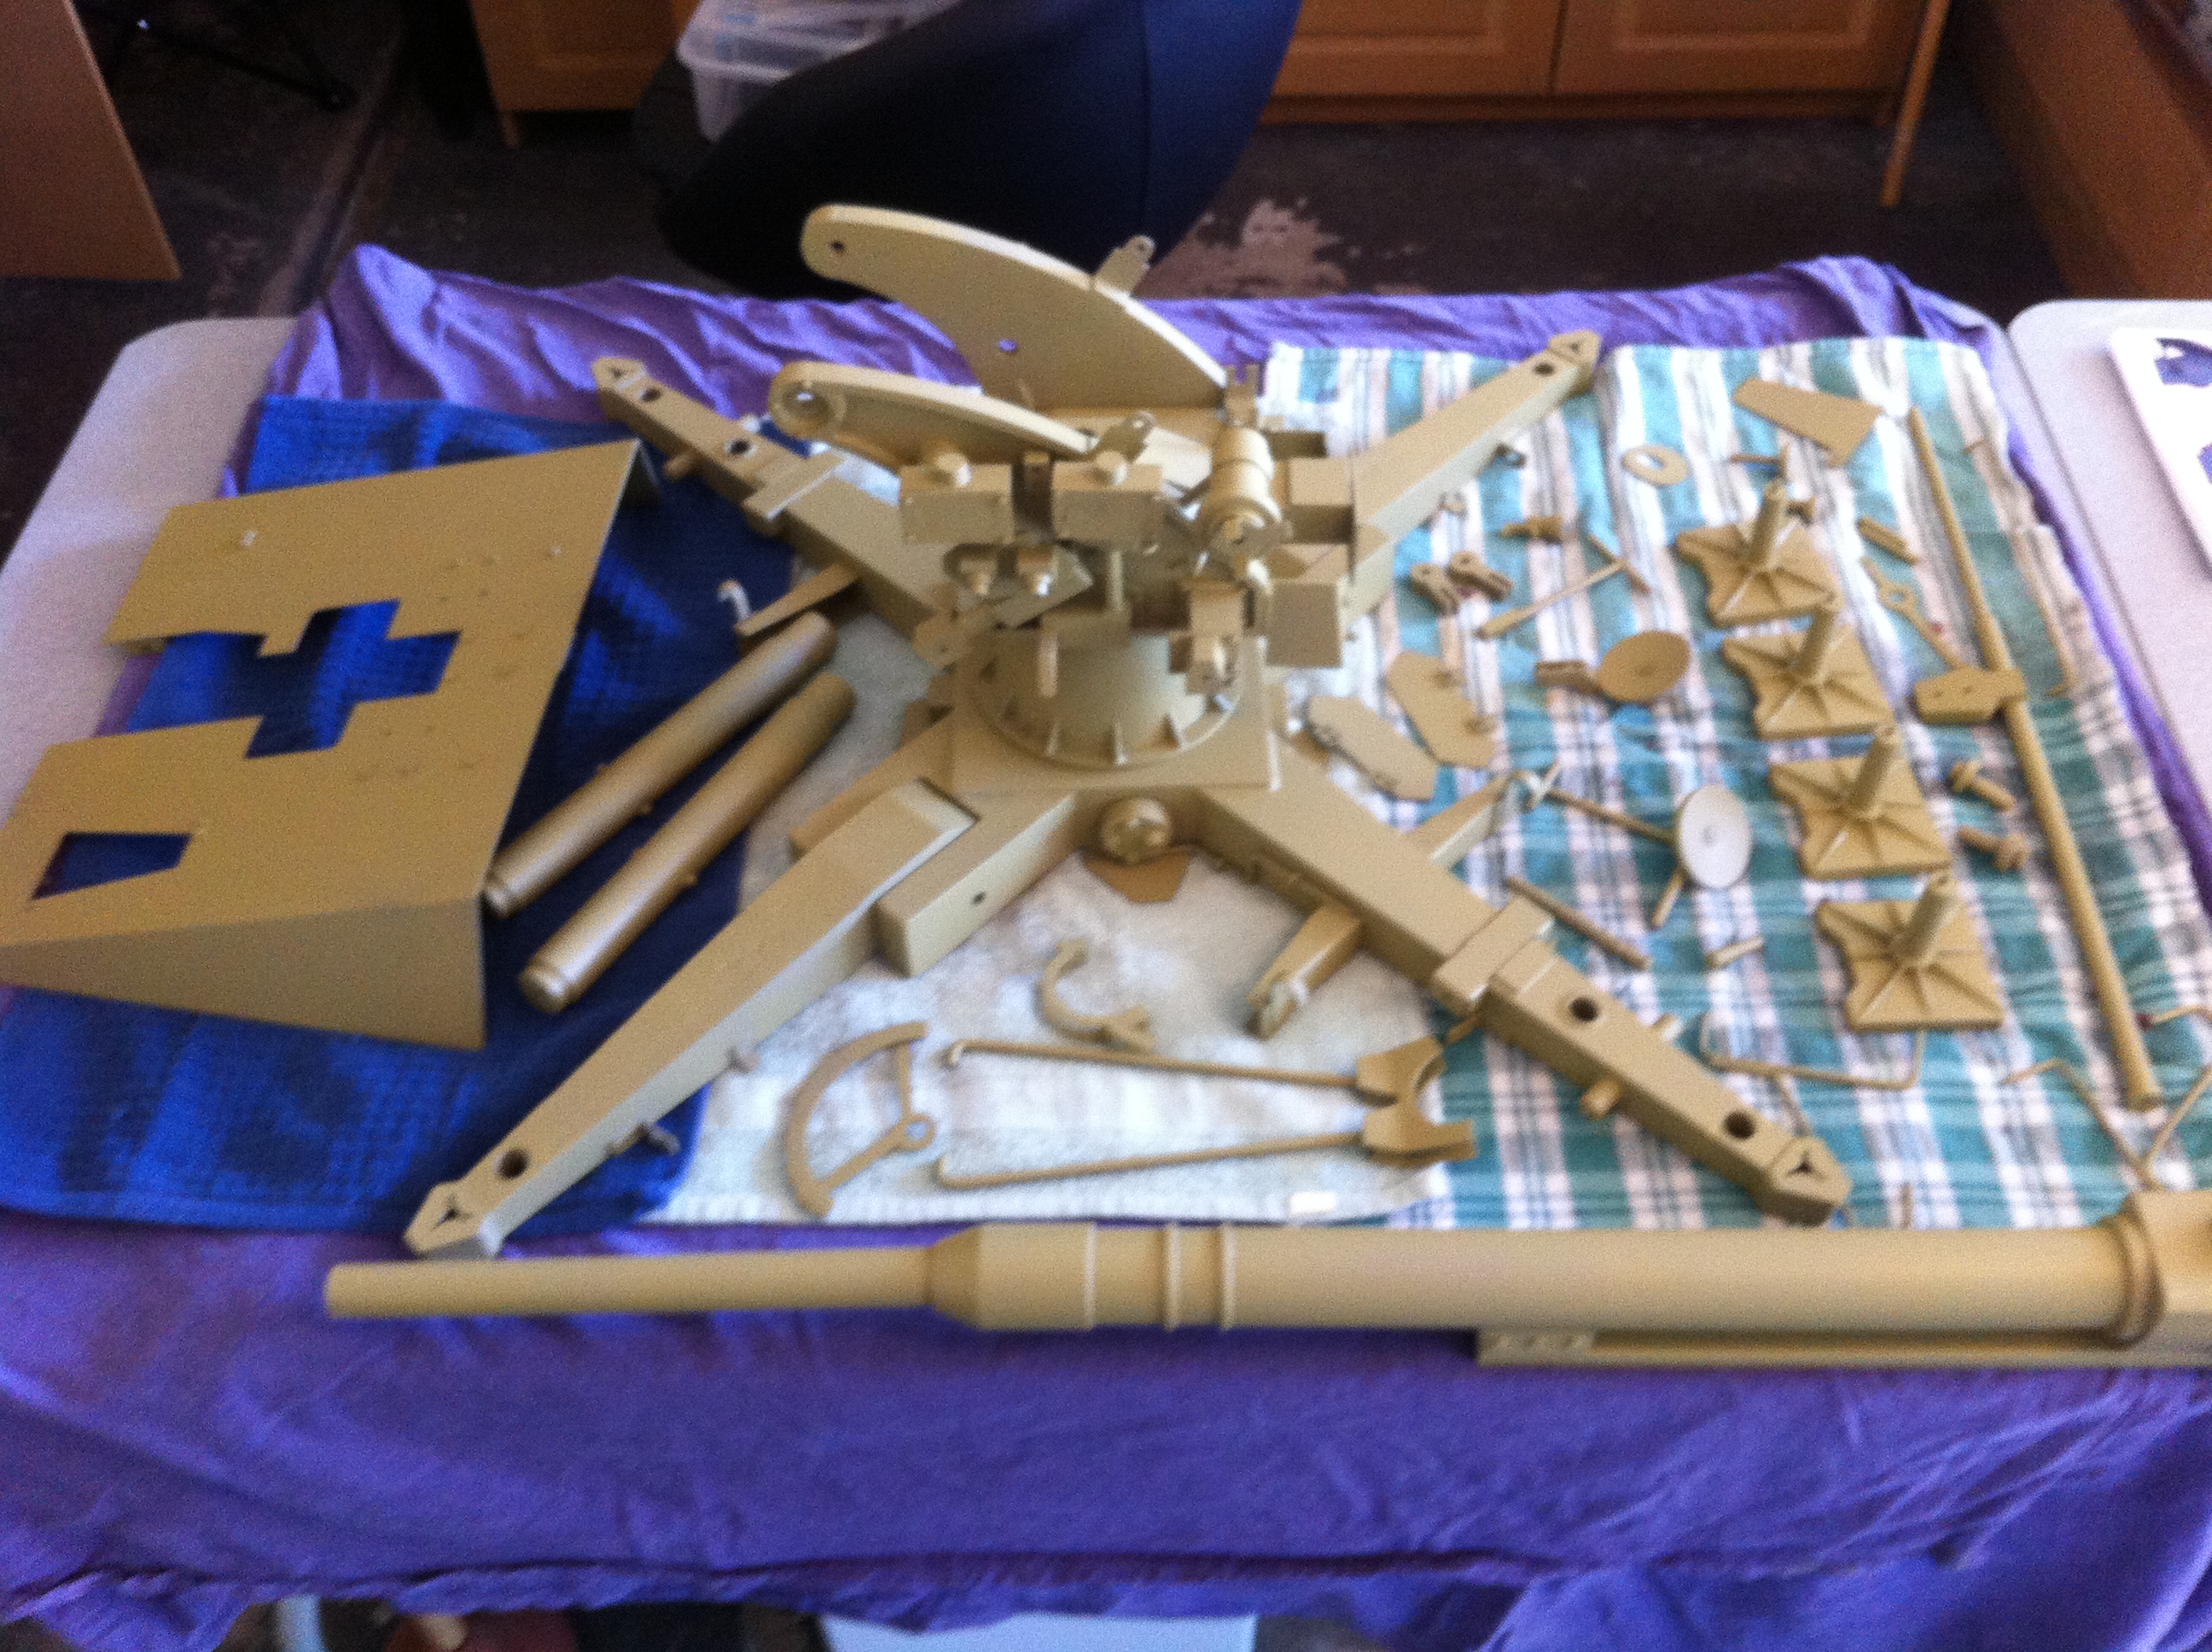
Now on to the final weathered paint job courtesy of Scott Carter of Faded Armour who is visiting us in the desert Mar 21-23. Next post after that!
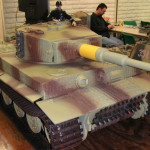
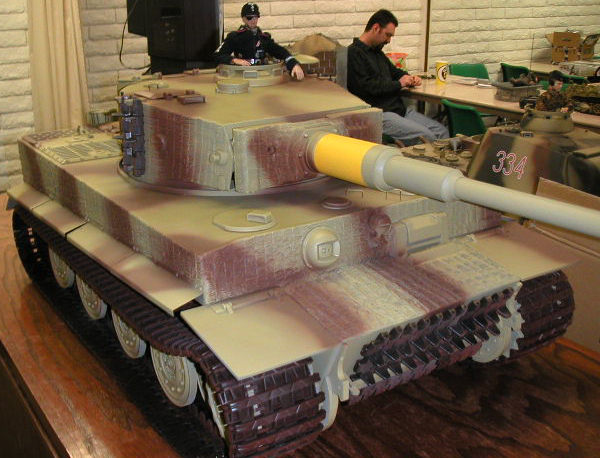
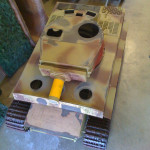
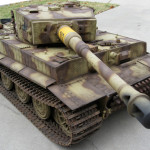
Tom’s Tiger Tank
-
- Fields of Armor Kit
-
- 1st Kit Build
-
- Rotting Resin Removal
-
- 2nd Build
-
- Zimmerit Removal
-
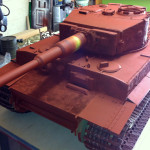
- Tiger Final Primer

-
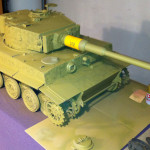
- Tiger Final Base Paint
-
- Tiger Final Build
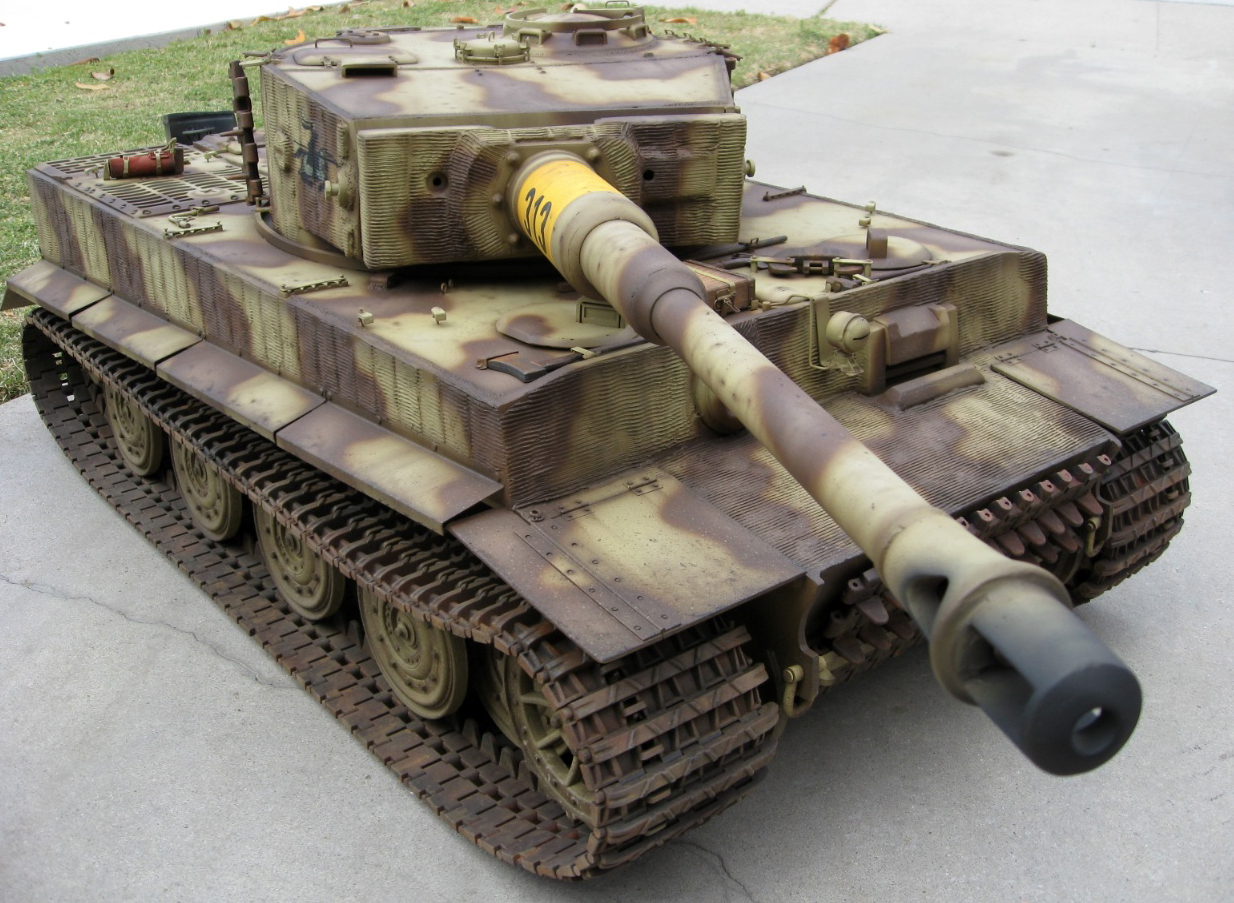
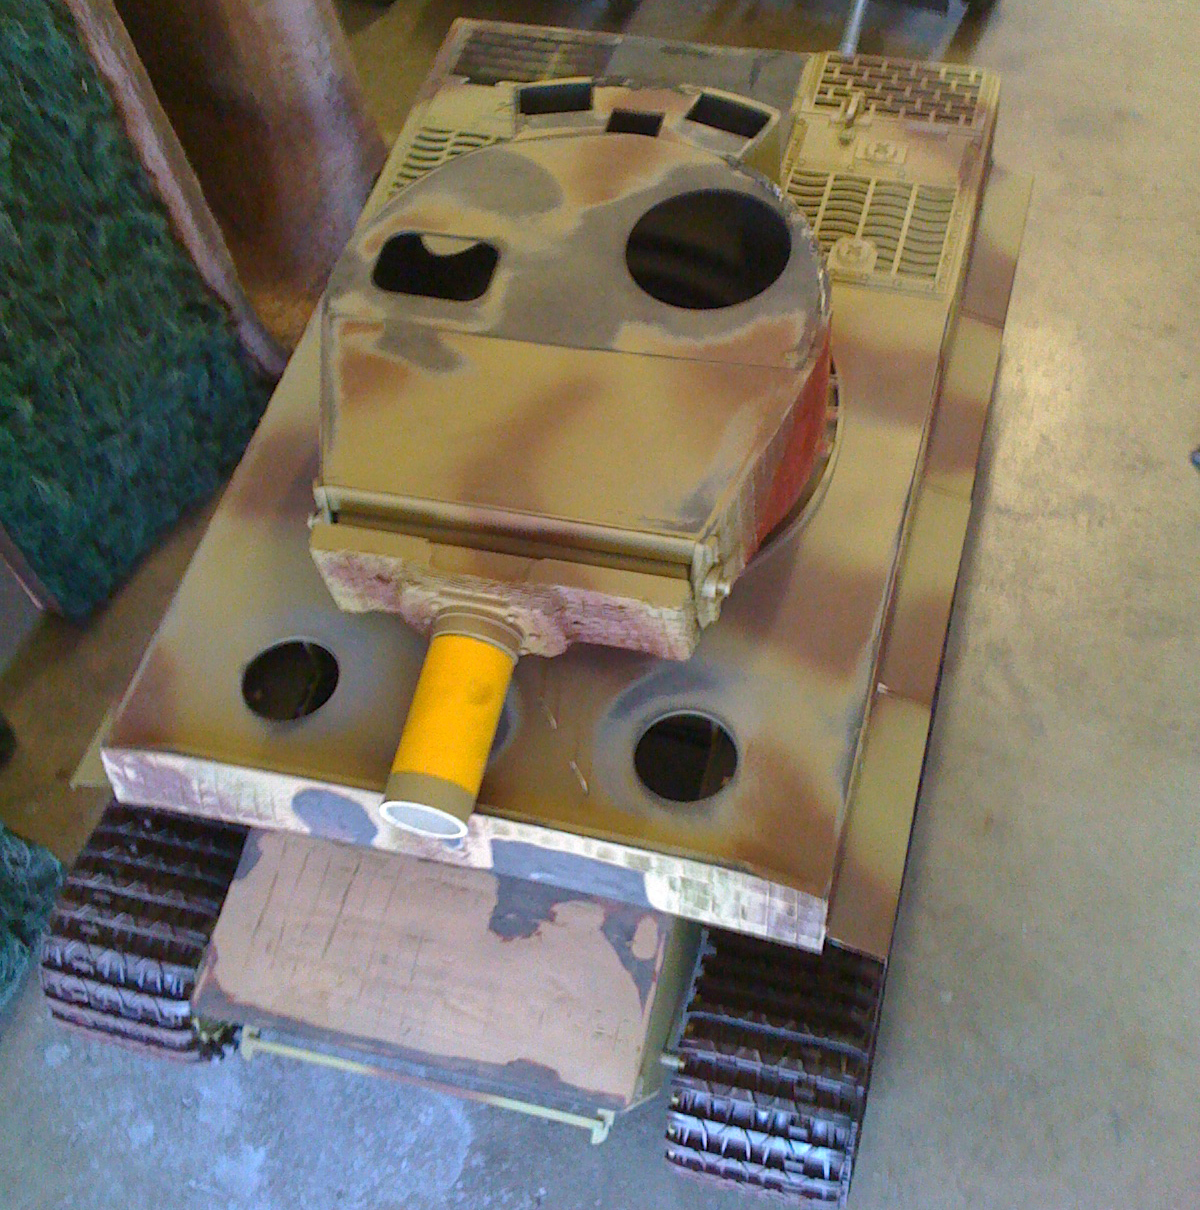
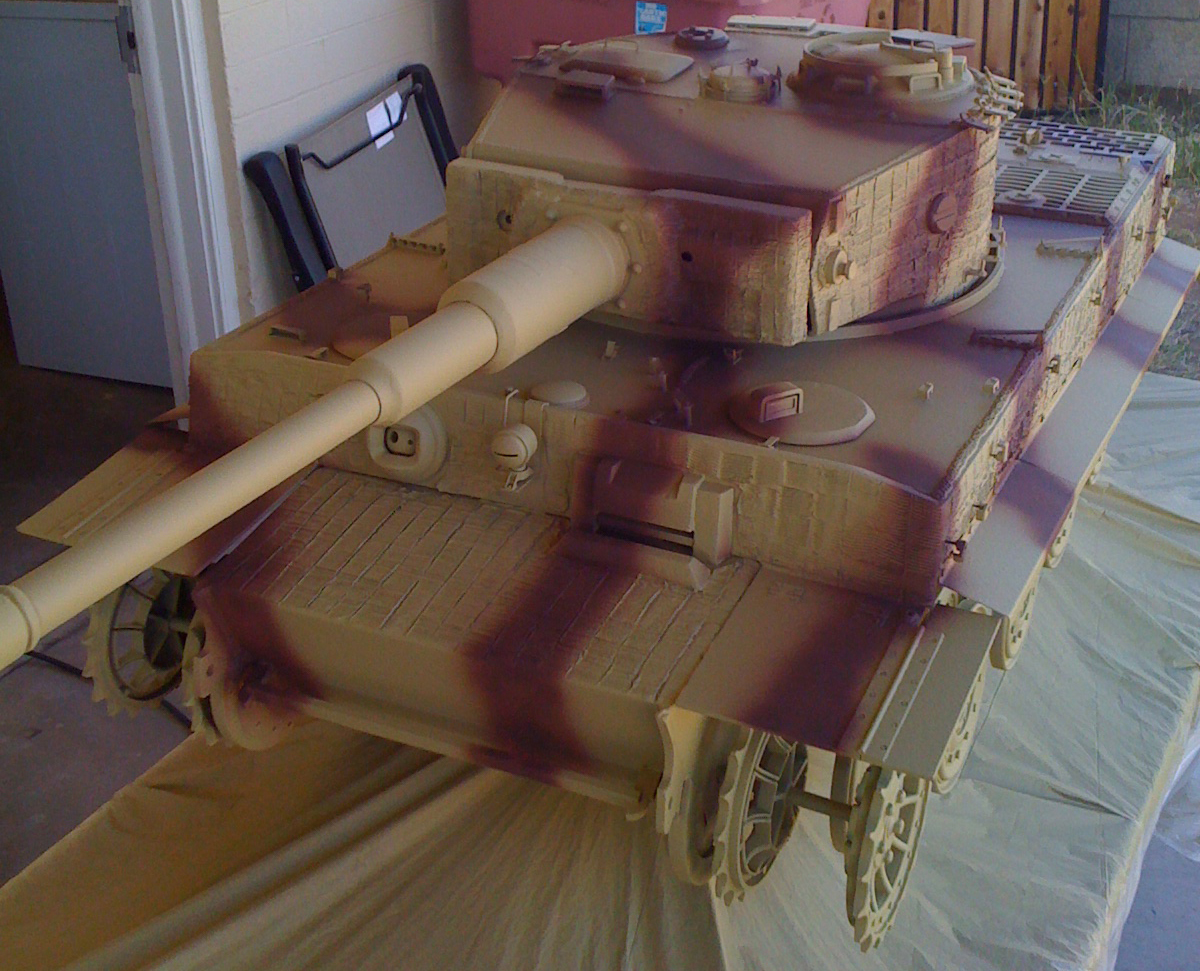
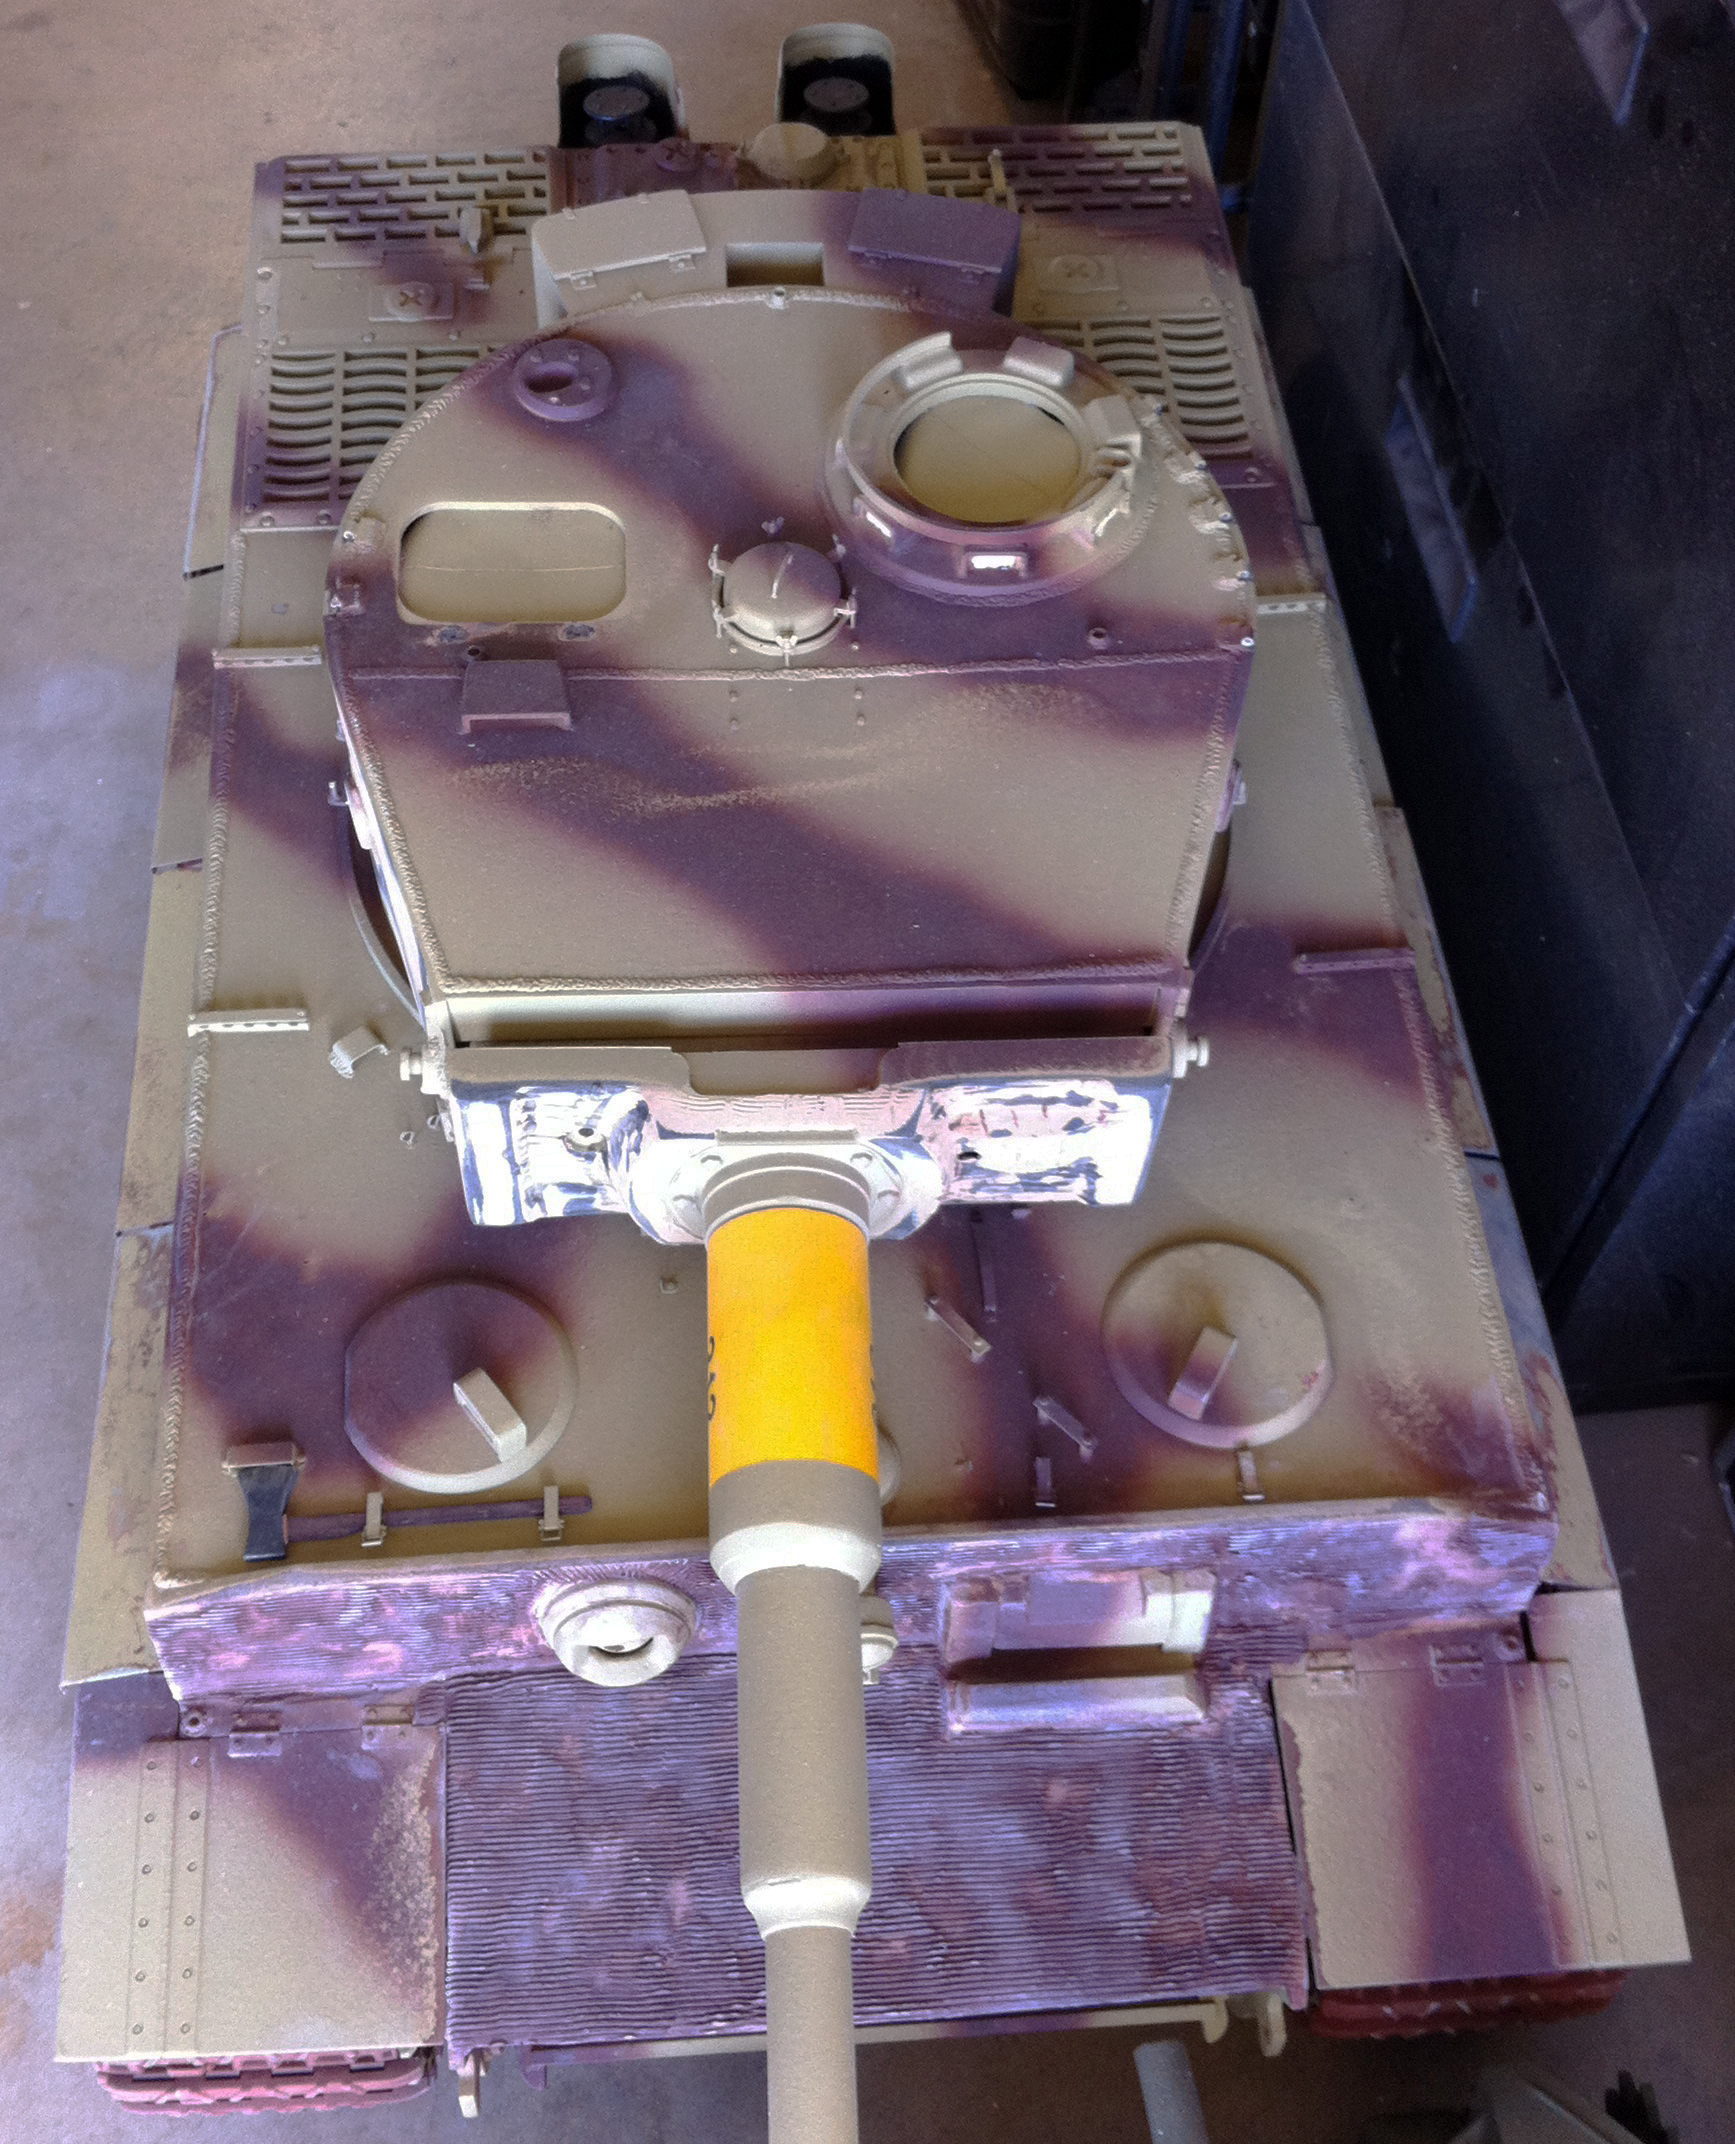
This tank is the crown jewel in Tom’s vehicle collection. This Tiger I German tank was built from a kit supplied by Fields of Armor (ABS Plastic). The version shown here in the final picture is the result of two rebuilds.
The first build suffered from resin hatches and detail pieces that were not mixed properly and were breaking down (resin breaks down into an oily mess). After removing the bad pieces, new ones were remolded, built from wood or ordered from part supplier Panzerwerks. The first application of zimmerit (texturing done to prevent magnetic mines from adhering to the tank) was not done well by Tom, so Jeff redid it for him just in time to have it painted by Scott Carter of Faded Armour. The paint job matches the Schwere Panzer-Abteilung 505 that fought against Russia on the Eastern Front at Kursk in 1943 and in East Prussia until the end of the war.
Recent Comments